When you take a walk one night and look at the sky When you see how beautiful the moon looks, By saying “everyone should see this magnificent view”, you immediately pick up your phone and want to post a story.
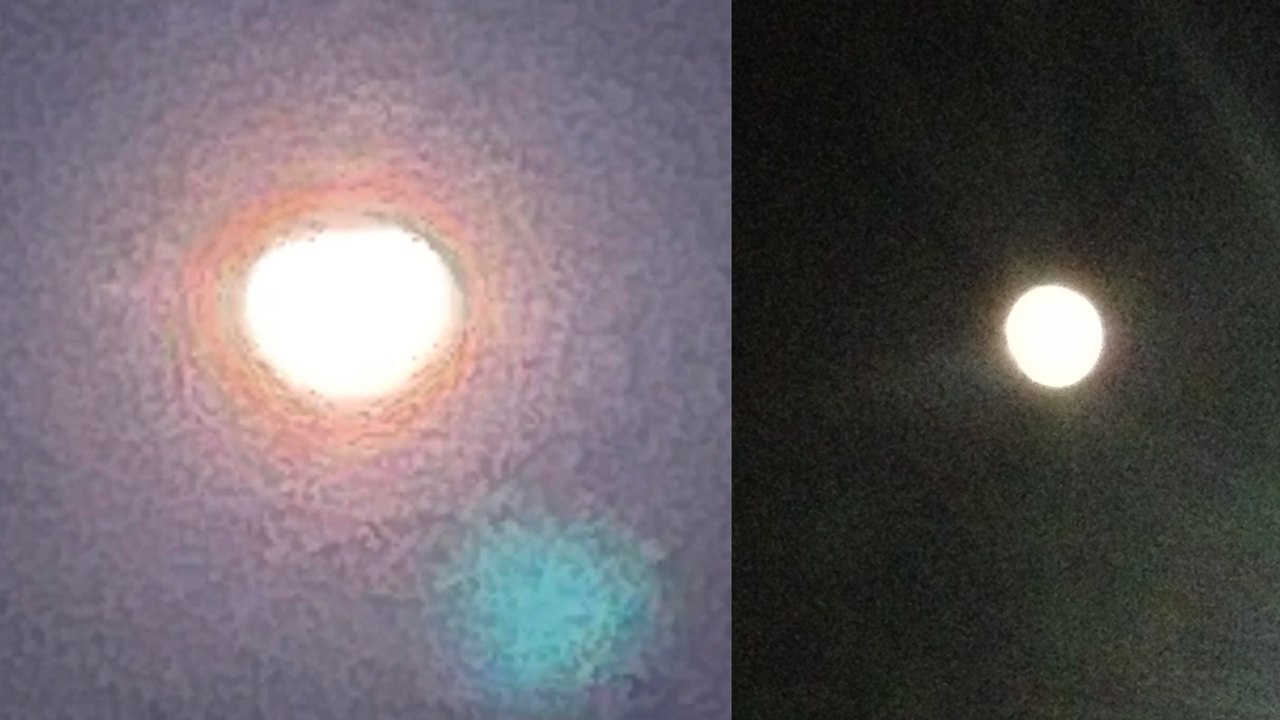
However, if you take a picture of the moon and look enthusiastically at the screen, you will be disappointed, because only a white spot that is too small, too bright has. When we explain the reasons for this situation that everyone is experiencing and tell you how to take a better moon photo with the phone, this situation will no longer be a problem.
One of the main reasons why moon photos turn out so poorly on phones has to do with the focal length.

The focal length of the camera is very different from the focal length of your eyes. The focal length of the eye is 22-24 mm, The focal length of the phone camera is 4.5-6mm.
Most phones also have a fixed lens, which is usually wide angle.
Wide angle lenses make the distant object appear further away and the edges of the image appear closer and longer. For a good Moon photo, a good first shot optical zoom required, but on most phones this feature is not yet at a good level.
Since digital zooms only magnify the image, not the real object itself, there is a loss of resolution and a grainy (sandy) image is displayed.
On your DSLR camera with an optical zoom, use the lens to enlarge/zoom the image. physical you can move.
focal length of the camera the closer it is adapted to the human eye, The dimensions of the sun and moon are so similar to the way we see them.
We’ve learned why it looks small, but why does the moon look so bright in photos we take with the phone?
Because most people don’t use the correct exposure settings. So you can see details like the crater You need to make a few changes in the camera settings.
On Android phones, you must:
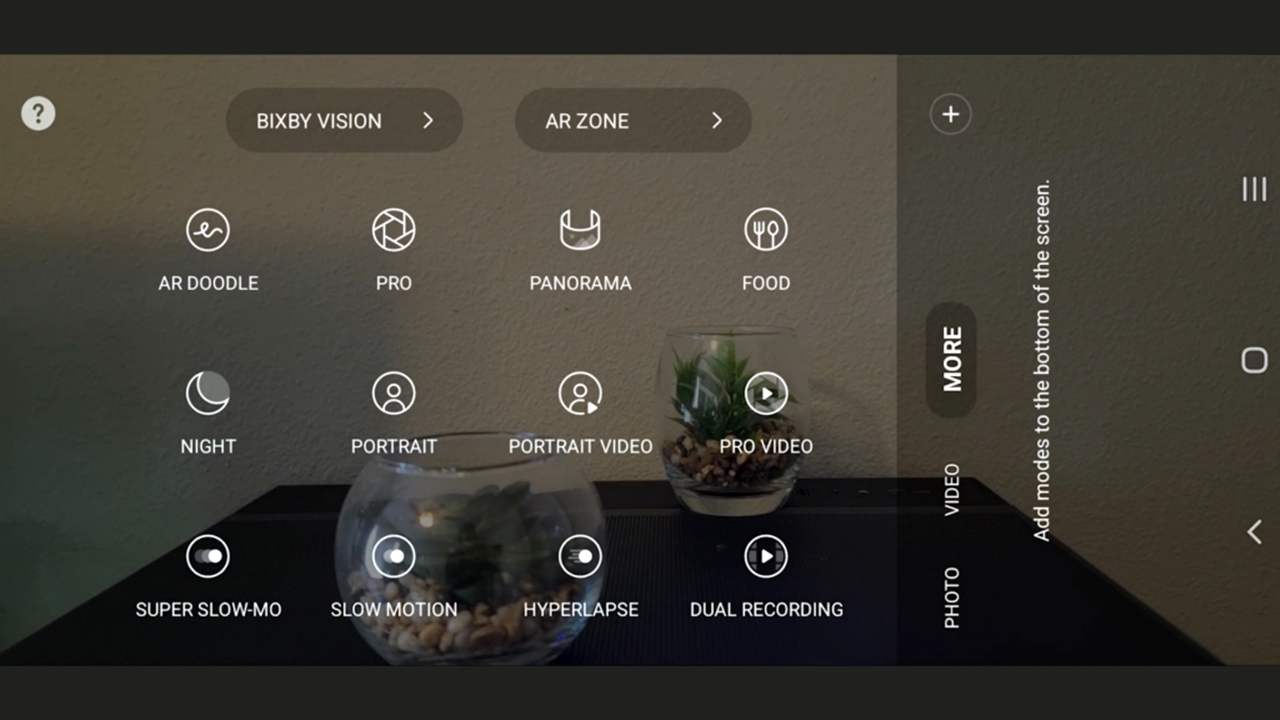
- Set your camera to full manual mode.(Pro fashion) bring it.
- f(focus) last.
- Zoom in.
- on your camera to make the sensor less sensitive to light. lowest ISO setting use it. That’s usually 100, 200 isn’t bad either.
- Snapshot(s) Make it 1/2400s (may be 1/1000 on some phones).
iPhones don’t have Pro mode. So what should you do?
Zoom in, focus and minimize exposure and take a shot. From the result if you are not satisfied You can follow the steps below:
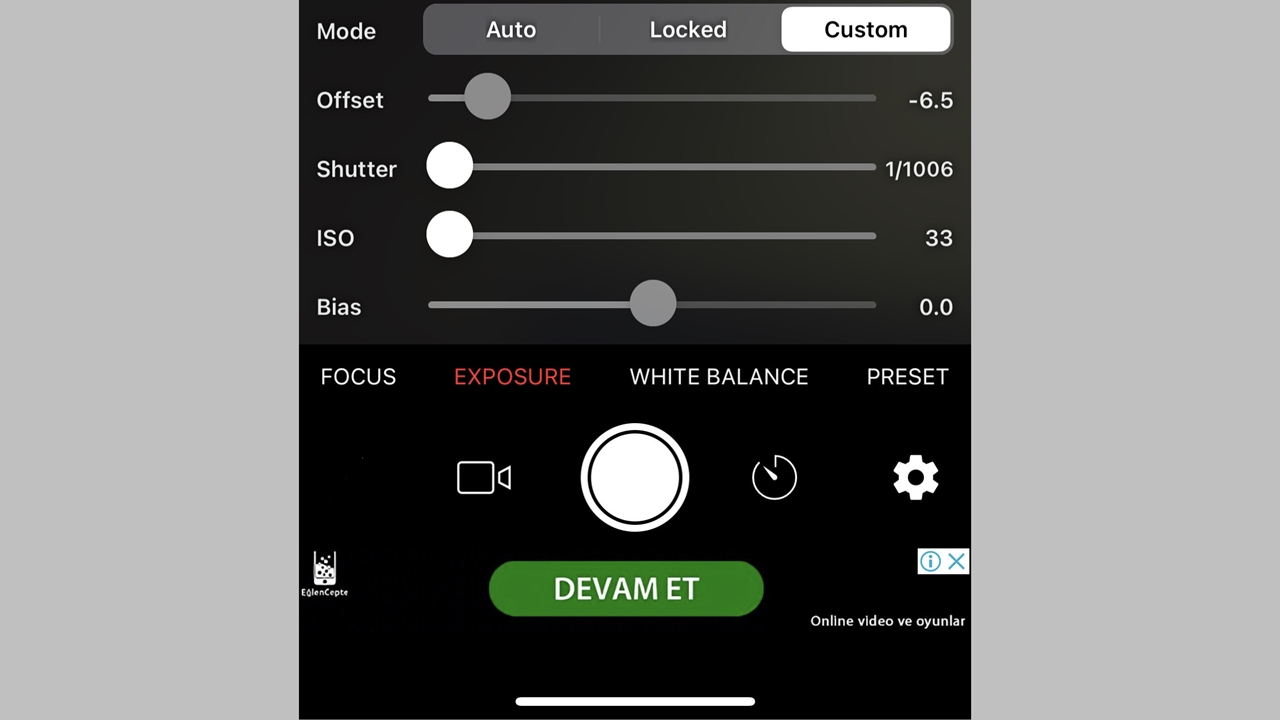
- on the App Store Yamera (manual camera) Download the app.
- Open the app and zoom to the moon.
- In front of Exposureand you CustomizationSelect . Set the shutter and ISO to the lowest and photo.
Doing this will make the moon’s surface look more detailed, but other objects stay in the dark. If you want other objects to appear in the photo, you have to risk making the moon appear brighter.
In addition, the following methods will also help you take a better Moon photo:
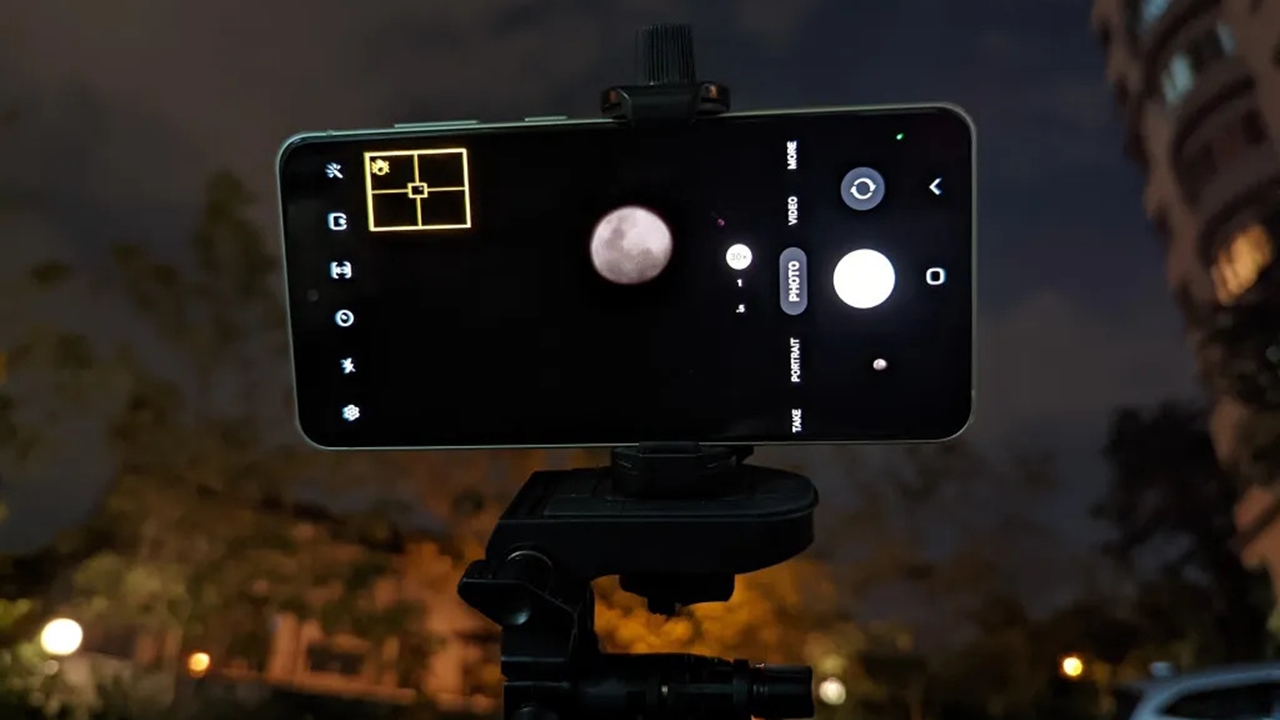
- Tripod You can hold the camera still.
- on the shutter release cable/remote control or on your camera. the timer you can use. This prevents the vibrations that occur when pressing the phone and ensures that the photo is not distorted.
- lightroom You can make the moon look sharper with a photo editing program like
- Finally, there are two more factors that have nothing to do with the camera. One is about timing. Moon, near the horizon appears larger when so you can shoot at sunset or sunrise. Location is also important. Light pollution You’ll be less likely to take sharp photos in a big city because you’ll get better results in a deserted location.
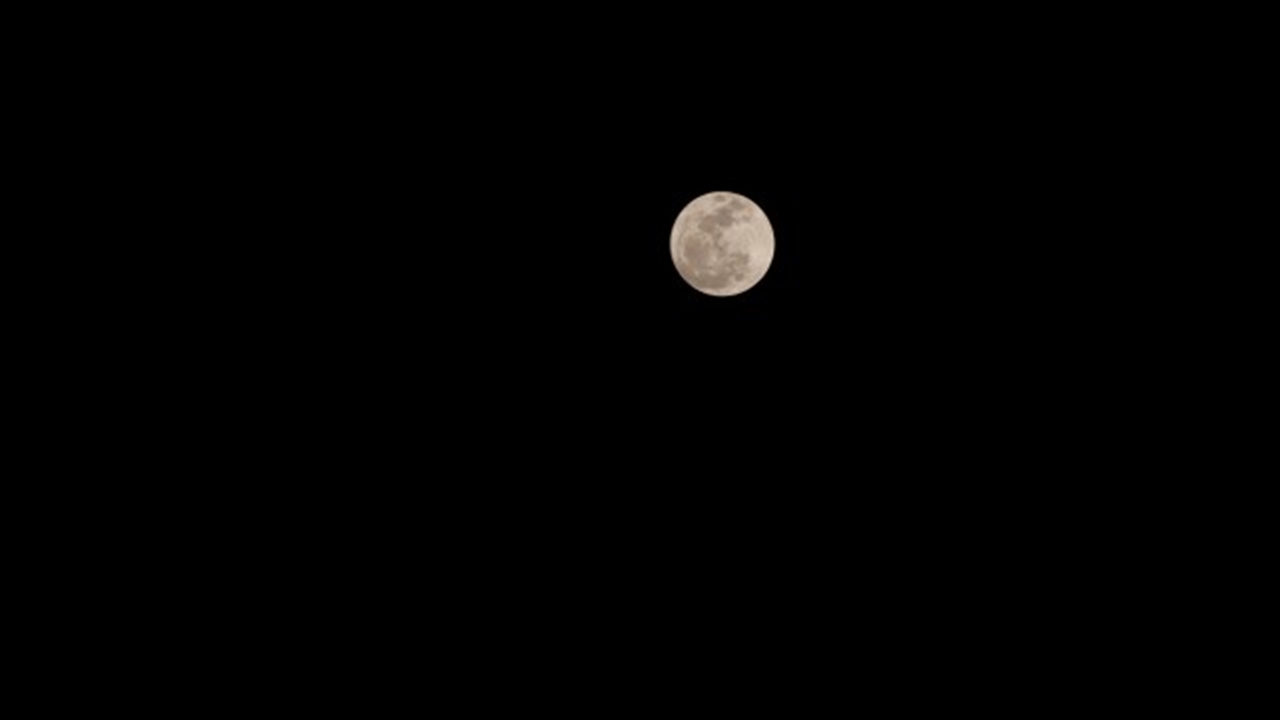
This is what the moon looks like on an average phone when you make these settings:
With each new model, phone cameras take much better photos. For example this Moon photo, 100X Shot with a Samsung S22 Ultra with Space Zoom:
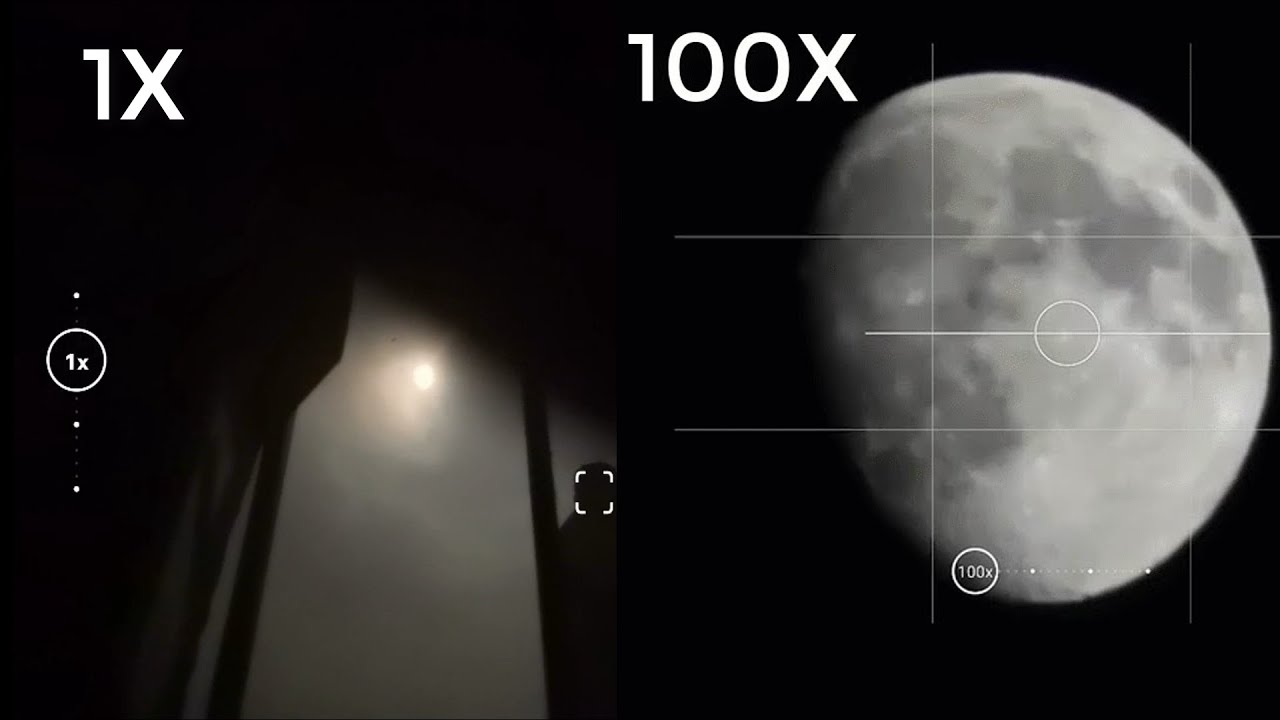
In other words, the moon photos taken with the latest model of phones are not bad at all. In 10 years, this problem may no longer exist. Then of course we have to pay 250,000 TL for a telephone.
astrophotography Much more professional photos can be taken with this, but this will be the subject of another article.
Click now for an affordable Disney+ membership!


