


How to Enable Private DNS on Android to Boost Security
- December 30, 2023
- 0
Google enabled DNS over TLS in 2018 for its mobile platform. Precautions to get Private DNS on Android encrypt traffic carried by this protocol both in terminal connections


9621 Agnes Crossing, Lake Suzanneview, New Mexico Island 84604-9295.
Google enabled DNS over TLS in 2018 for its mobile platform. Precautions to get Private DNS on Android encrypt traffic carried by this protocol both in terminal connections

Google enabled DNS over TLS in 2018 for its mobile platform. Precautions to get Private DNS on Android encrypt traffic carried by this protocol both in terminal connections and in applications. This feature is available from Android 9 and up, although it needs to be supported and enabled by your ISP. In this practice we will see how to check it and possibly change the provider.
A few weeks ago we saw the importance of DNS in the modern internet. Necessary protocol used by computers, services or any resource connected to networks that goes beyond its main use, i.e. resolving the IP of the website or service we use, assigning names to IP addresses and ultimately acting as a means of mutual communication between us and the websites we visit .
Almost everything we do on the Internet starts with a query to these DNS, so it’s crucial to use the most secure communications possible, even on mobile devices. While a few years ago queries to domain name servers and their responses were sent without any type of security or encryption, making them vulnerable to eavesdropping and computer attacks, today we have features that use a security protocol transport layer (TLS)safer.
This feature is usually enabled by default on Android phones starting with version 9 and uses a secure connection channel, but we insist if the ISP’s server supports it. Which doesn’t happen on all occasions. There is an easy way to check if your ISP supports TLS for DNS encryption, for example using tests from Safer.com.
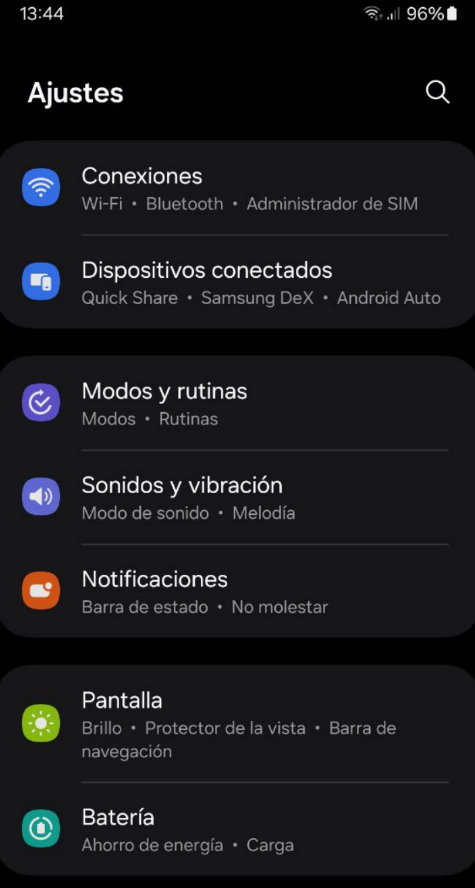
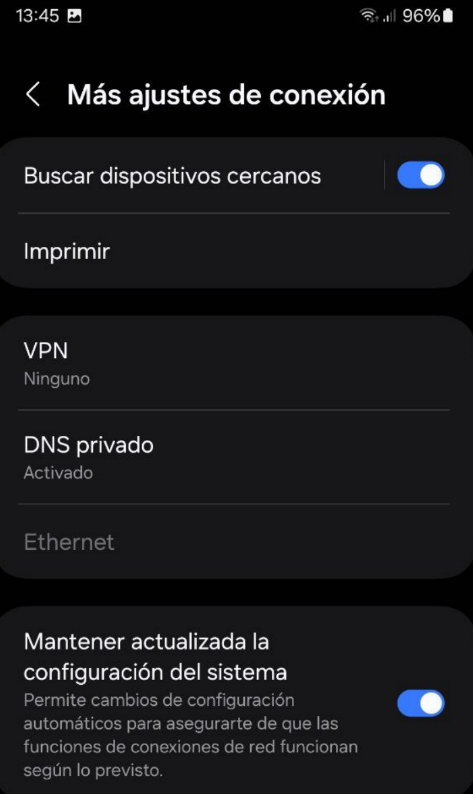
After verification, you can keep your service provider’s private DNS or you can opt for other trusted ones like Google Public DNS or Cloudfare. The configuration varies from one mobile to another due to the customized interfaces of different manufacturers, but basically you will find it in all of them as follows:
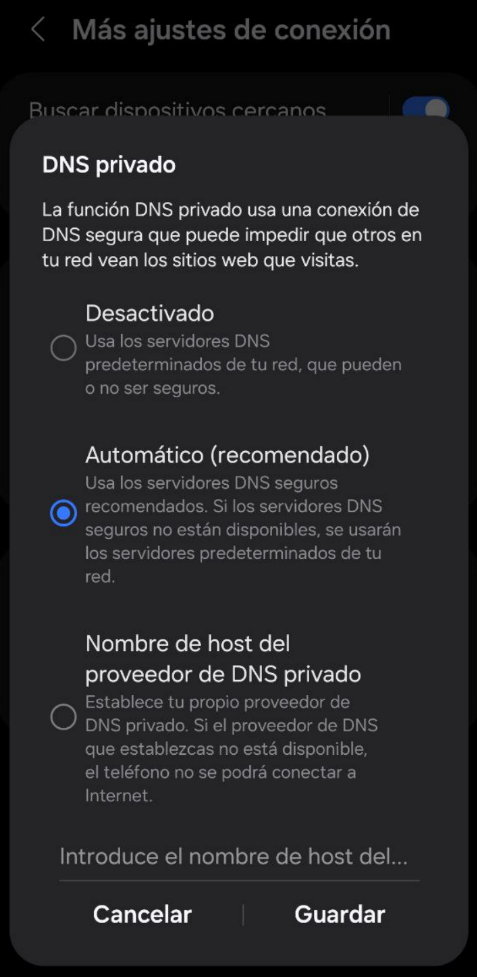
dns.google as the host name of the DNS provider.
To activate the new provider’s private DNS, just click save and restart your smartphone.
Source: Muy Computer

Donald Salinas is an experienced automobile journalist and writer for Div Bracket. He brings his readers the latest news and developments from the world of automobiles, offering a unique and knowledgeable perspective on the latest trends and innovations in the automotive industry.


