


This is how Windows Safe Mode comes in handy when standard startup fails
- February 5, 2024
- 0
It will be impossible for you not to run into a problem that prevents you from completing the standard startup of your Windows computer. There are times when


9621 Agnes Crossing, Lake Suzanneview, New Mexico Island 84604-9295.
It will be impossible for you not to run into a problem that prevents you from completing the standard startup of your Windows computer. There are times when

It will be impossible for you not to run into a problem that prevents you from completing the standard startup of your Windows computer. There are times when they will be so bad that you will have to use the “reset” feature and in extreme cases take the bull by the horns and go ahead with a clean install.
Before doing all this, we recommend trying Windows Safe Mode. It’s one of those older tools that’s been with us since Windows 95, but it’s still just as useful in situations where A full system load is not possible due to one of the bugs that plague Microsoft, conflicting applications, incompatible drivers, or the malware that abounds in Windows being loaded into memory at startup and preventing it from accessing the desktop.
Indeed, there are times when this is the only way if we cannot do a normal startup with all services loaded. Once you are in this environment, which is also known by such descriptive names as “start-safe-safe” either “secure boot”it is easier to use functions to fix errors or restore the system.
Until Windows 7, accessing this special mode was as simple as pressing a button function key “F8”. during computer startup. Since Windows 8, with the implementation of the new UEFI firmware and the explosion of SSDs for internal storage, this path does not work on many modern computers. Fortunately, there are other methods to remind you.
It’s the fastest way to start Windows in Safe Mode, but it also doesn’t work on all computers. The reason is mentioned. The speed of the new UEFI BIOS combined with the speed of the PCI-Express SSD does not leave time to interrupt the normal boot process and go into safe mode. If you use hard drives as your main drive, it usually works, it works in Windows 10 and 11.
Another way to get to it is even easier, as it can be reached by clicking and pressing the Shift key when the system restarts. Open the Start menu and click the shutdown button. Shift-click the reset button. You will be taken to another configuration screen that will allow you to access Safe Mode via “Troubleshooting – Advanced Options – Startup Settings”.
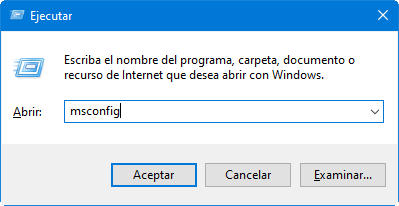
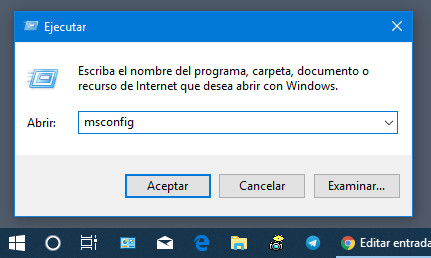
One option that doesn’t fail is to use the system configuration tool ‘msconfig.exe’, either with the ‘run’ application in the control panel or using the Windows + R key combination.
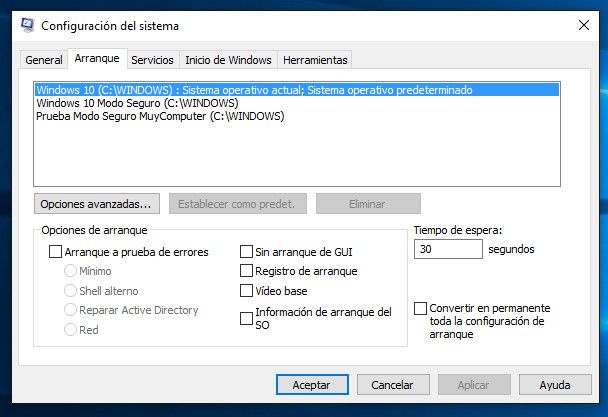
Once you’re in system configurator, go to the ‘Boot’ tab and enable ‘safe boot’ with the options you need, like basic ‘minimal’. The app will prompt you to restart the system and when you do so, you will automatically go into Windows 10 safe mode.

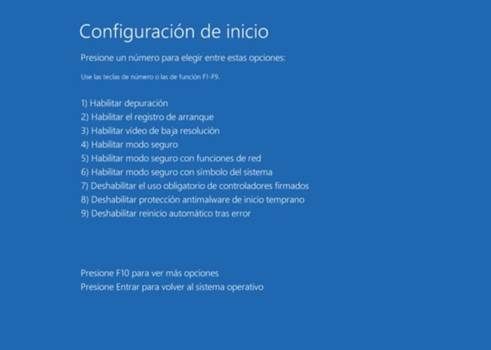
Reboot the system and you will be taken to a screen that allows you to boot into this safe mode with network features, command prompt, etc.
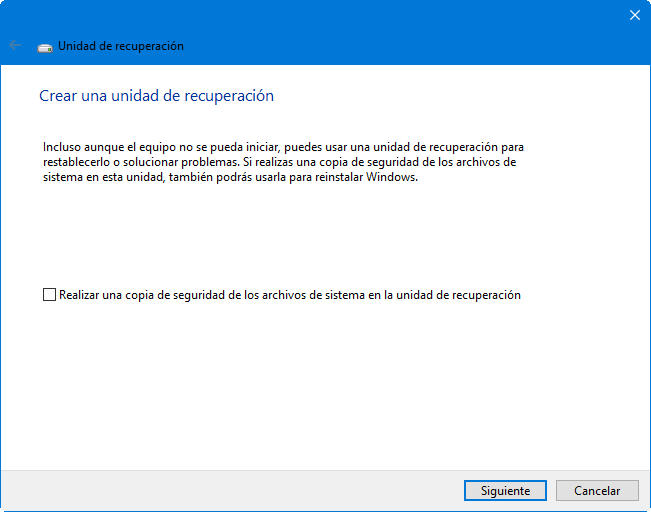
In situations where none of the above methods work, this mode can also be accessed from external bootable drives. In Windows, they can be created using the “Recovery Drive” tool on DVDs or external USB drives. Once created, these recovery media contain several tools, including the ability to access Safe Mode by activating “Troubleshooting – Advanced Options – Startup Settings”.
This “safe start” is not a method that the average user would use regularly, but if you are interested in having it as close to hand as possible, you can also add it to the start menu of Windows 10, Windows 11 or earlier , which will make it easier to access every time the system restarts. You need to perform several steps as follows:
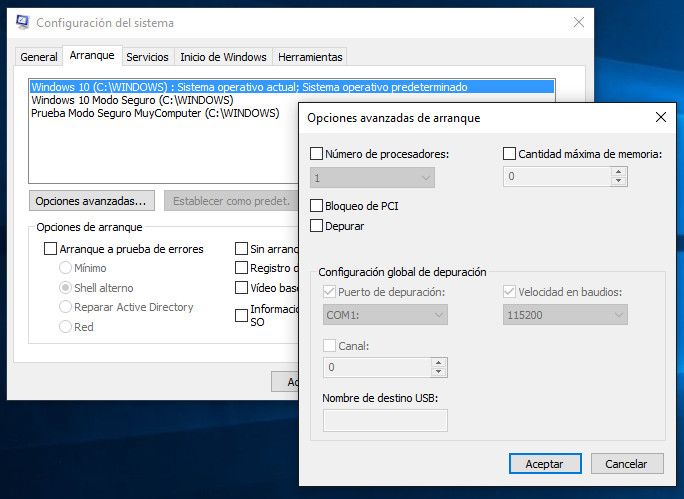
So far we’ve only created items for the boot menu, so if we don’t configure them, we won’t see any effect. We will do it with system configuration tool.
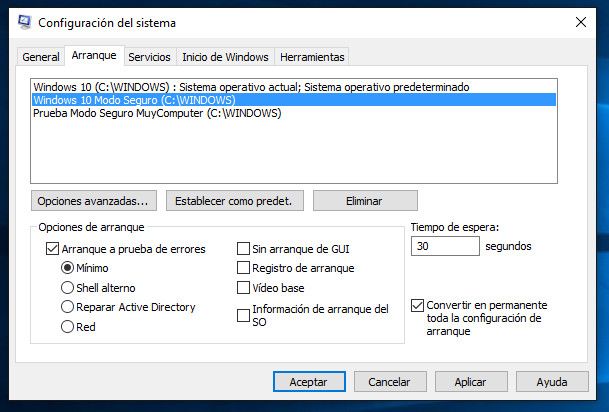

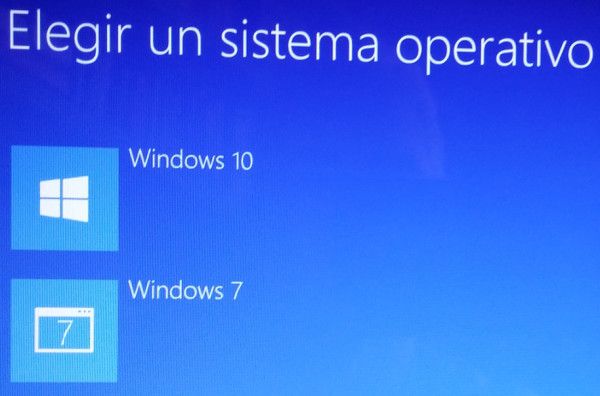
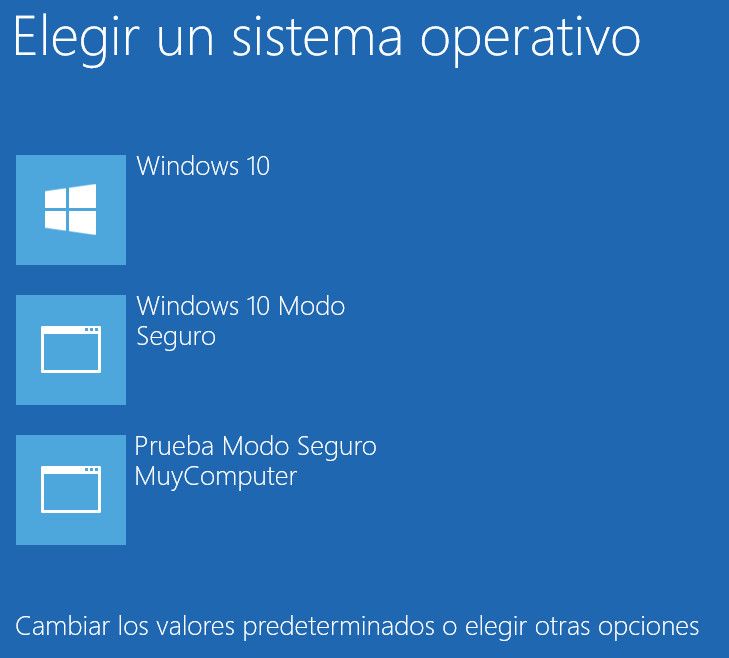
Once all the items are configured, we just have to use them and we will receive the corresponding change notification. To check what we have done, just restart your computer. You will see that the system will show us the boot menu with the option to select all three inputs and also with the option to change their default values or choose other options.
In order not to waste time, you can simply choose few seconds as waiting time and the entry created in the Windows installation as default. In this way, the system will always start by default without selecting any, but we will also have access to other boot methods, such as this safe mode, whenever we need it and in a very simple way.
Although not as fast as the popular “F8”, access to Windows Safe Mode is not only possible, but its functions have expanded since Windows 10. Remember this, because you will definitely have to use it on more than one occasion, because it is a method that sometimes sometimes turns it around necessary to restore your PC to proper operation.
Source: Muy Computer
Donald Salinas is an experienced automobile journalist and writer for Div Bracket. He brings his readers the latest news and developments from the world of automobiles, offering a unique and knowledgeable perspective on the latest trends and innovations in the automotive industry.


