


How to upgrade Windows 11 in five easy steps
- March 9, 2024
- 0
If you want to improve Windows 11 and don’t know where to start, in this article we will give you five keys to help you turn it into


9621 Agnes Crossing, Lake Suzanneview, New Mexico Island 84604-9295.
If you want to improve Windows 11 and don’t know where to start, in this article we will give you five keys to help you turn it into

If you want to improve Windows 11 and don’t know where to start, in this article we will give you five keys to help you turn it into a lighter, better tuned operating system with a higher level of performance. Sounds good, right? And the best part is that the steps you need to follow are so simple that it won’t take you more than a few minutes in total.
Before I get down to business, I want to remind you of one important thing, which is that although it is possible to improve Windows 11 even at the performance level, in the end we cannot perform miracles. If our PC does not exceed the minimum requirements the performance of said operating system will never be good because our device will not have the necessary power to move it.
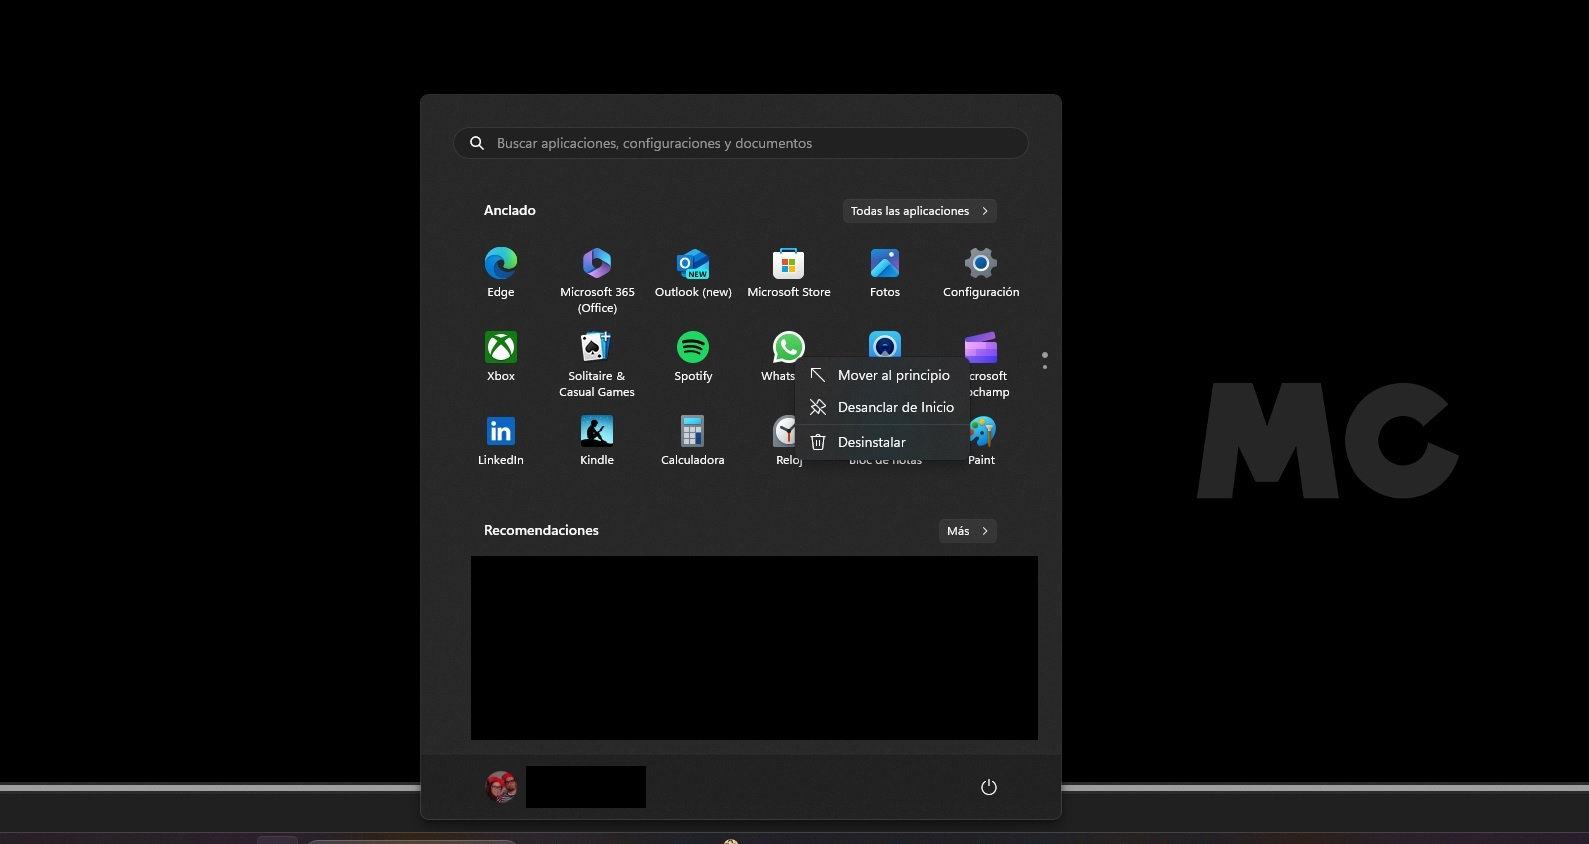
Windows 11 comes with a remarkable amount pre-installed apps that many users don’t need indeed, and these can be removed directly with a few clicks. To do this, just follow these steps:
It is also possible to produce a a clean install of Windows 11 with no bloatware according to these steps.
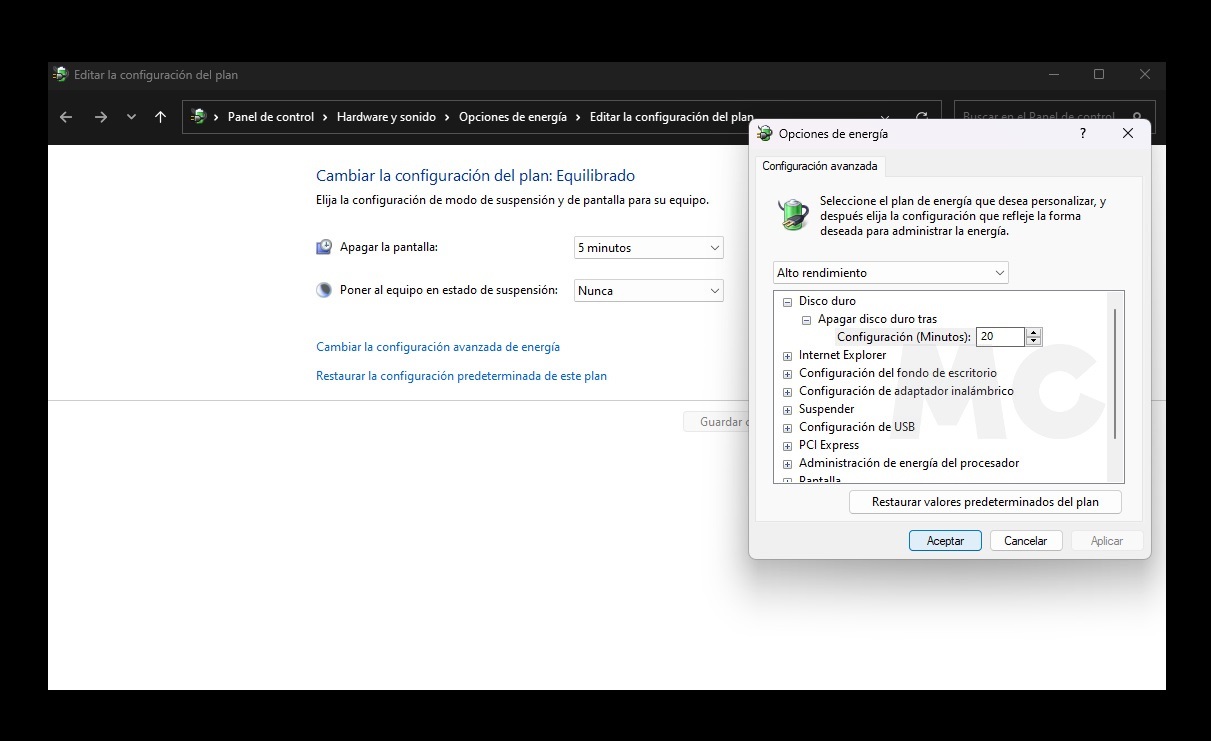
This will allow us to adapt the behavior of the operating system to our real needs and This will affect both consumption and performance. It’s also very simple and won’t take us more than a few seconds. Next steps:
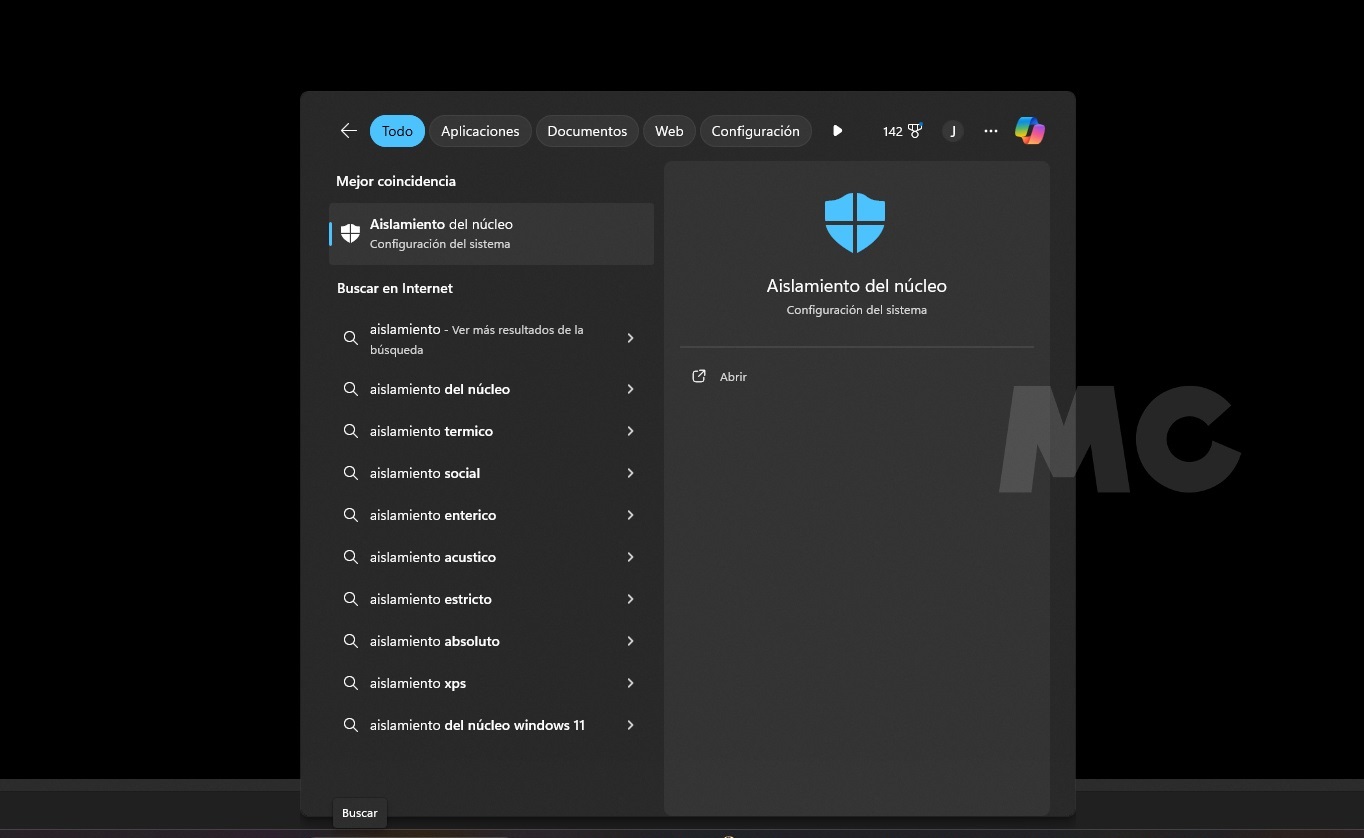
This is a safety feature that may affect the performance of the operating system in games, and this only really matters in professional environments where these types of applications are not running and where security is a priority. To disable it, follow these steps:
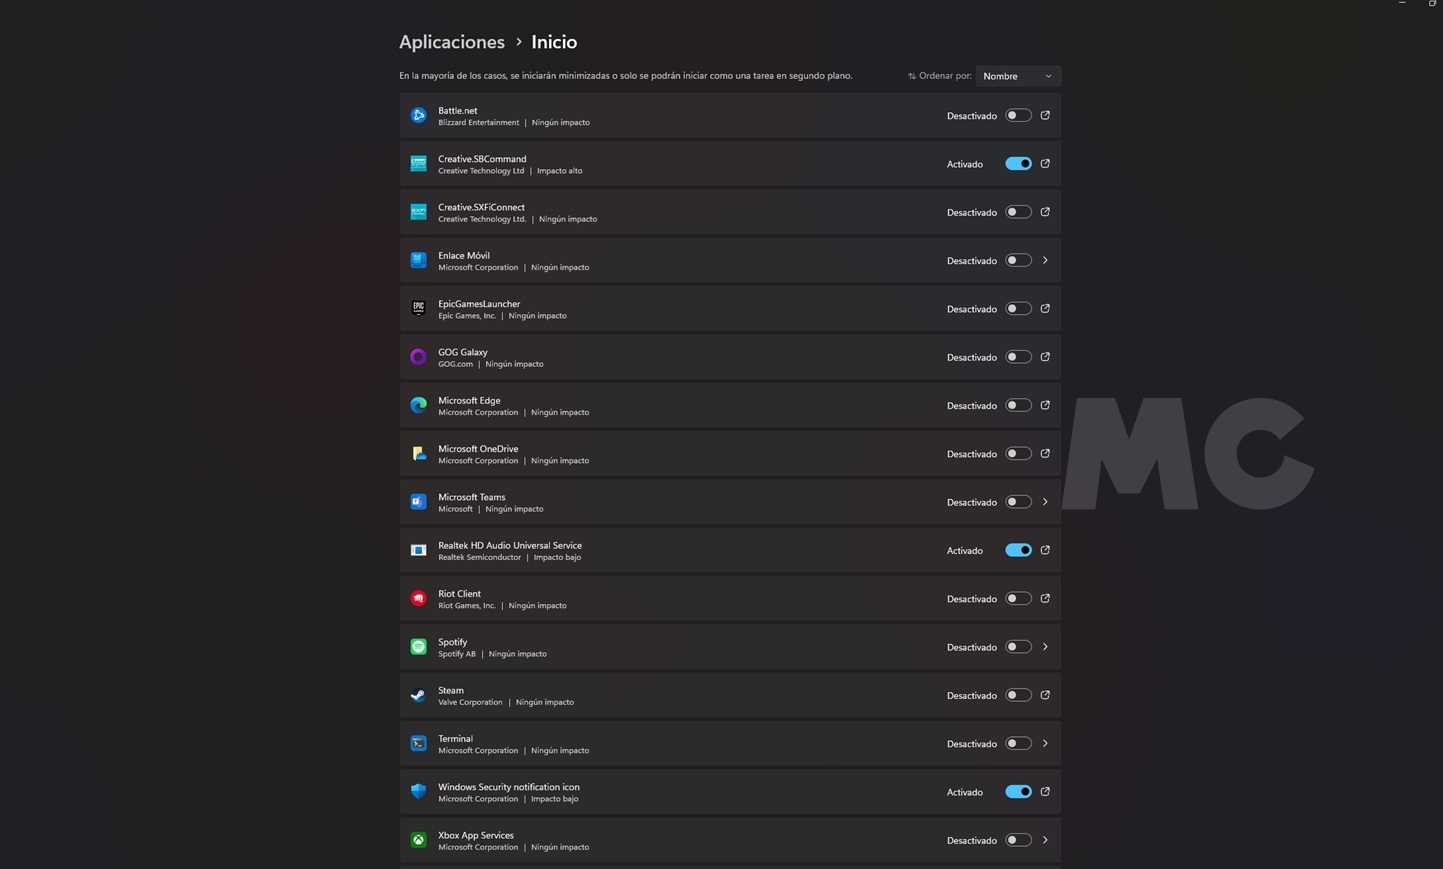
With this measure, we can choose which applications we want to load at startup and which not. This will enable us reduce the consumption of very valuable resources, as RAM and prevent them from loading a bunch of apps we don’t really need, which can negatively affect performance. For this step we need to:
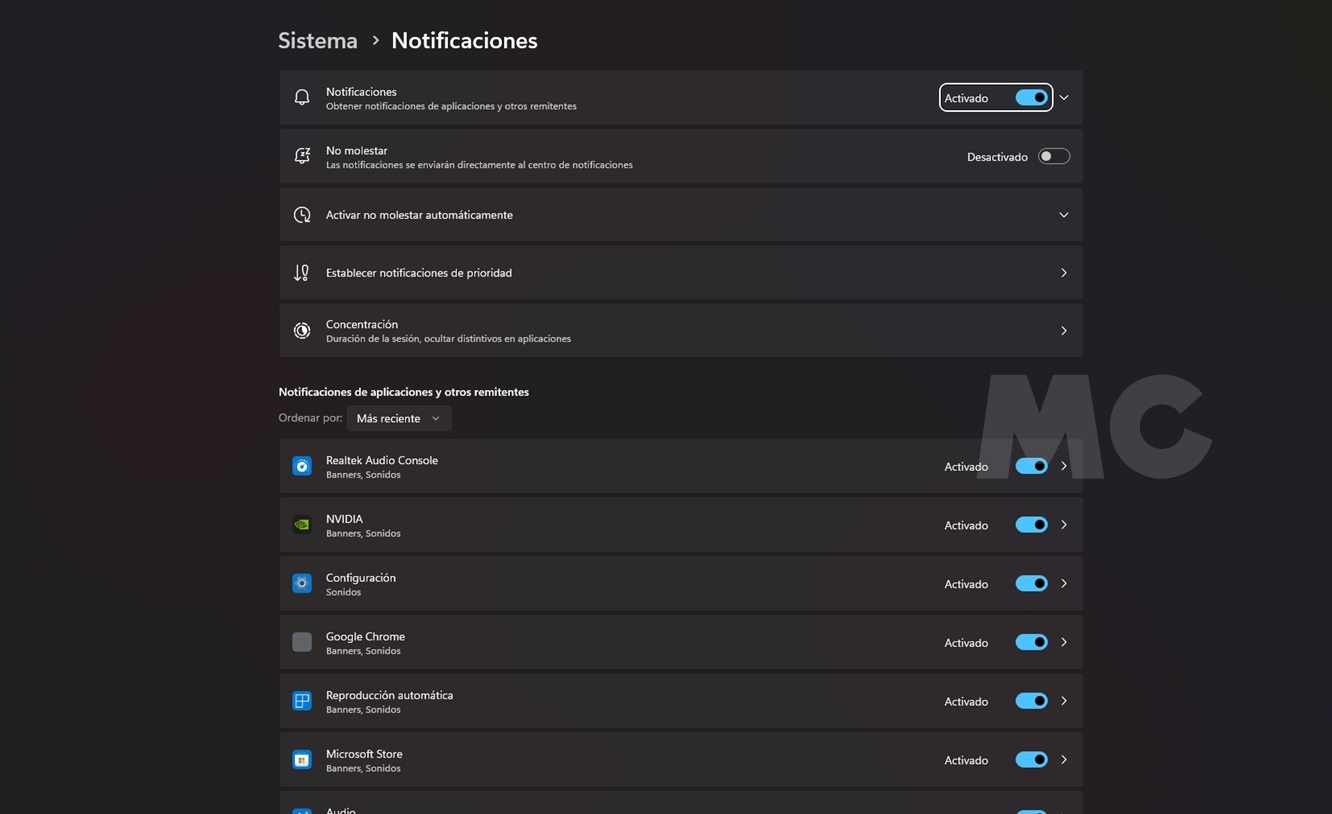
With this we will create Windows 11 be a little less annoying, as it will allow us to reduce the interruptions and distractions that notifications usually cause. It’s very simple, just follow these steps:
Source: Muy Computer
Donald Salinas is an experienced automobile journalist and writer for Div Bracket. He brings his readers the latest news and developments from the world of automobiles, offering a unique and knowledgeable perspective on the latest trends and innovations in the automotive industry.

")


