


11 comments
- May 17, 2024
- 0
One of the things I missed when upgrading my MacBook Pro was the ability to run Windows natively. on my laptop Intel processor To install the Microsoft operating


9621 Agnes Crossing, Lake Suzanneview, New Mexico Island 84604-9295.
One of the things I missed when upgrading my MacBook Pro was the ability to run Windows natively. on my laptop Intel processor To install the Microsoft operating

One of the things I missed when upgrading my MacBook Pro was the ability to run Windows natively. on my laptop Intel processor To install the Microsoft operating system on a special partition, it was enough to launch Boot Camp Assistant. I just needed a little patience, an ISO system image, and a valid license.
This procedure worked perfectly in reverse. If you wanted to go back to macOS as your only option, simply use Boot Camp to uninstall Windows and recover disk space. All of the above is no longer possible with the advent of Apple Silicon chip computers, but some options remain on the table.
When virtualization is the only option
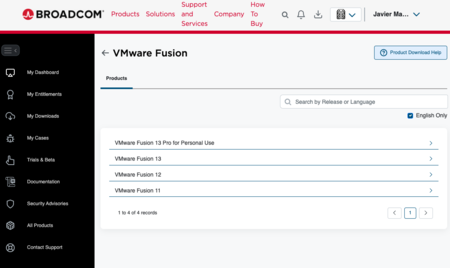
Get VMware Fusion 13 Pro for macOS
Installing VMware Fusion 13 Pro for Windows 11
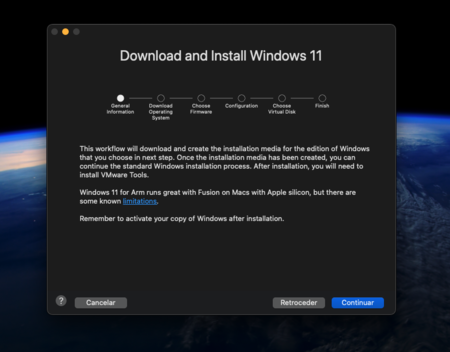
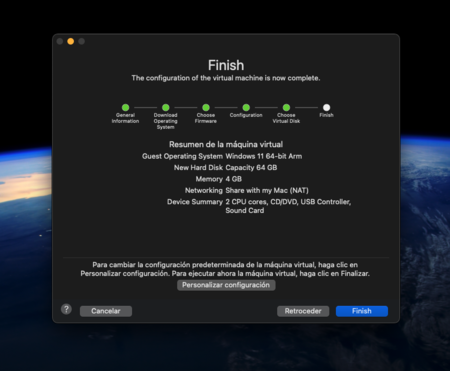
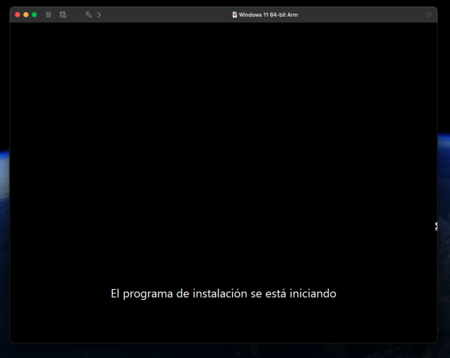
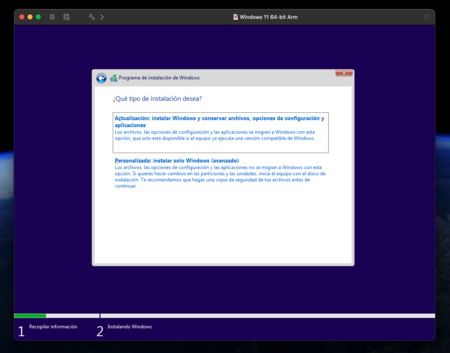
Install Windows 11 from VMware Fusion 13 Pro
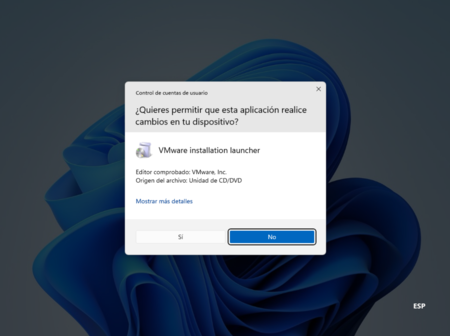
Improve experience and performance with VMware Tools
Since 2020, Apple computers have had an ARM heart; I believe this move is correct, and it is magnificently depicted in my colleague Javier Pastor’s article ‘Apple M1: anatomy of a revolution’. HE architectural change This meant the end of support for x86 versions of Windows, but virtualization remained a possible alternative.
I basically had three options for using Windows on my Apple Silicon Mac: two paid and one free, but in preview. I’m talking about Parallels, VMware and VirtualBox respectively. I wasn’t really sold on the idea of paying, and neither was using the development version. This changed a few days ago when one of the alternatives became free.
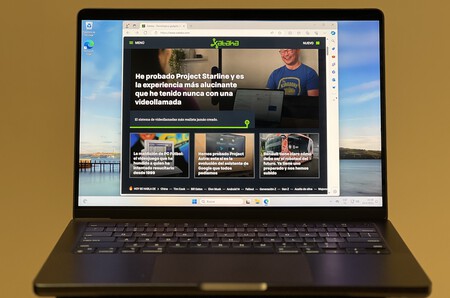
Broadcom announced this week that VMware Fusion Pro will be free for personal use. This news seemed like a great opportunity for me. Restore Windows to my Mac. So if you find yourself in a similar situation, this may be an opportunity to use the Microsoft operating system on your computer again. Now let’s see how to do it step by step.
Ready. You already have Windows 11 on your Apple Silicon Mac.
If you want your virtualized operating system to have better performance and be able to interact with macOS, you will need to install a program called VMware Tools. To do this, follow these steps.
Pictures | Screenshots | Xataka | vmware
in Xataka | There are those who believe that macOS is the salvation of the iPad. A former Microsoft executive makes clear it’s a terrible idea
Source: Xataka
Donald Salinas is an experienced automobile journalist and writer for Div Bracket. He brings his readers the latest news and developments from the world of automobiles, offering a unique and knowledgeable perspective on the latest trends and innovations in the automotive industry.


