We’ve previously mentioned two AI-based tools we can use, Magic Eraser and Google Photos’ Magic Editor. Edit and change our photos in secondsOf course, these are not the only AI tools that Google has put at our disposal: we cannot forget the Focus tool and Portrait Lighting.
Google recently announced that access to all these tools is now free for all Google Photos users, with no subscription required, albeit with certain limitations. Of course, if we want to take advantage of these tools We need to be clear about what each one is for.because there are situations where it is recommended to use one more than the other.
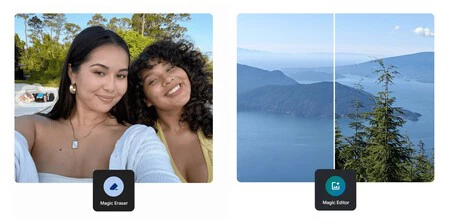
Magic Eraser and Magic Editor allow you to erase parts of an image, but each tool has its own strengths
Given the similarity of names, it is not surprising that doubts arise when making a decision. When to use Magic Eraser and when to use Magic EditorBoth tools allow us to remove unwanted objects (or people) from our photos, but each tool has its own strengths.
As Google explains on its blog, using the Magic Eraser we should: quick fixes in small areas from a photo. For example, when it comes to removing a person in the background of a photo or a car that we do not want to appear in the image. For such cases, Google Magic Eraser is the ideal tool.
In case you have to more complex corrections (such as objects in the foreground or that cover a larger part of the photo) it is more advisable to choose Google Magic Editor. This is because it is more efficient in filling the gaps left after deleting the parts of the image that we do not want to be visible.
So, if what you are interested in is to make a small correction, your ally is the Magic Eraser. For everything else, it is advisable to use the Magic Editor, as we will obtain much more professional results in complex retouches.
In addition to the above, Google has also shared a few tips to keep in mind when: select parts of photo We want to organizeThere are three different methods we can use: Touch the object, move your finger several times over an area of the image (as if it were a brush) and draw a circle.
Selena Shang says that objects with clear boundaries (like a bottle in the foreground) are easier to select by touching them. When talking about objects with less defined edges (like a tree), it is more advisable to select them by drawing a circle or running your finger over them. Shang also remembers: Sometimes it’s easier to zoom in on the photo. To select the object more precisely.
Finally, Google reminds us that we have the ability to: adjust retouch intensity Most editing tools use the intensity slider. For example, we can use it with Portrait Lighting or the blur tool to adjust the finish of the effect to our liking.
via | Android Authority
Cover image | Ricardo Aguilar (Xataka)
Xataka on Android | Google Photos revolutionized with Gemini AI: We can ask directly, as if we were a human