


How to extract images from Word document?
- August 4, 2022
- 0
Surely, on more than one occasion, you have found yourself in front of a Word document that contained one or more images and you wanted to be able


9621 Agnes Crossing, Lake Suzanneview, New Mexico Island 84604-9295.
Surely, on more than one occasion, you have found yourself in front of a Word document that contained one or more images and you wanted to be able

Surely, on more than one occasion, you have found yourself in front of a Word document that contained one or more images and you wanted to be able to extract them in a simple way. If we are talking about a single image, Word allows us to save it on our PC (or any other storage media, of course), but if we want to extract several images, the only option that the Microsoft word processor offers us is to save them one by one.
This method is not practical, especially if we are talking about large documents with a lot of images inside, this can take a long time, and if the distribution of images in the document is not reasonably uniform, it is possible that we end up skipping some, we may need later. Which would again force us to open the original document, find the image and extract it. Of course, this is not a herculean task, but it is an inconvenience and a waste of time that we can easily avoid.
So we’ll see,The different options we have to extract images from a Word document. To repeat the steps of this example down to the millimeter, I used this document from Rincón del Vago, although, as you can already guess, it works exactly the same with any other document.
This is, as I already mentioned, the simplest option. We will simply have to find the image we want to save, click on it with the right mouse button and in the context menu that appears, click on the item “Save as image…”. After the save dialog appears, we choose the destination folder, the file name and the format in which we want to save it (png, jpg, gif, tif or png) and after confirming the save, we will have the image available.
Something that not many people know is that the Word docx format is actually a compressed zip file that contains all the elements needed to build a text document. With this in mind, you must have already deduced that the key to getting images quickly is access to said content.
So if we start from this file
The first thing we will need to do is change its extension from .docx to .zip and edit it directly in Windows Explorer. When a warning appears, we confirm it to see its icon change to the icon associated with compressed files on our PC, e.g.
Next, we have to decompress the file in the usual way, i.e. the way we normally work with this type of file:

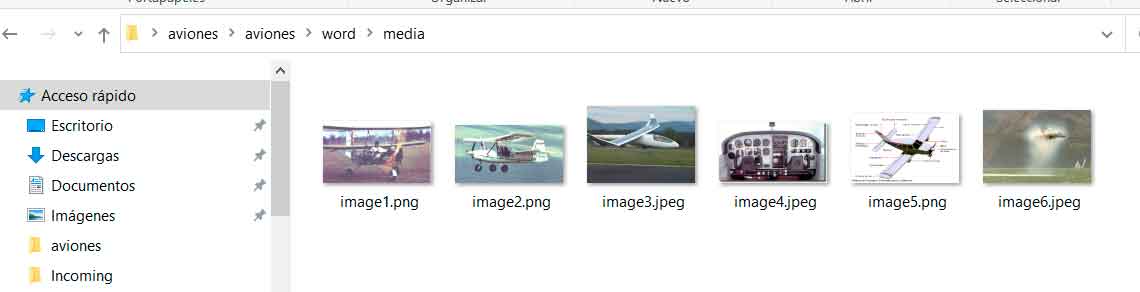
and once we see its content, we will first have to double-click on the “Word” folder and then on the “media” folder. Inside we will find the images and we will be able to use them as we intended:
But don’t forget to change the extension of the original file back from .zip to .docx in case you want to open it again in Word later.
Although docx has been the standard format for Microsoft documents since 2007, it is still quite common to find documents in its predecessor, .doc, which differs substantially from the newer one. So we won’t be able to use the previous method in a file of this type. But we still have an option that might surprise you.
Open the .doc file in Word, click “File” and then “Save As.” Then use the format selector to select
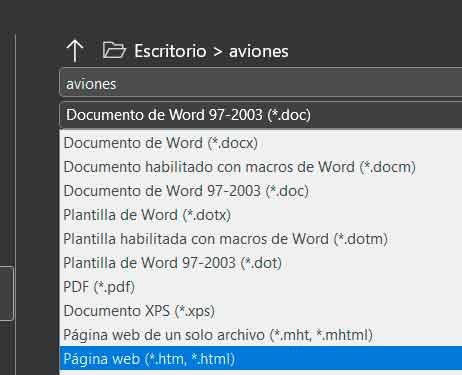
Enter a name, select a folder to save and confirm the operation.
Then, in Windows Explorer, locate the folder you chose to save in this example

You will see that in addition to the .htm file with the chosen name, a folder with that name and “_files” has also been created. Now you will only have access to the contents of this folder, and inside it, along with other files, you will find all the images of the original document.
Note: Although we cannot change the .doc extension to .zip to access its contents, what we can do is open the .doc in Word and save it as .docx if we prefer to use the first system. On the other hand, we can use the website technique even in .docx. So, in fact, we can use both methods with both formats, although in each case we chose the specific one because it is the fastest and easiest.
Source: Muy Computer
Alice Smith is a seasoned journalist and writer for Div Bracket. She has a keen sense of what’s important and is always on top of the latest trends. Alice provides in-depth coverage of the most talked-about news stories, delivering insightful and thought-provoking articles that keep her readers informed and engaged.

:quality(85)//cloudfront-us-east-1.images.arcpublishing.com/infobae/DQIQMHQU3VHFLN5L5WJ2ZJERI4.jpg "8 apps you can’t miss on your mobile phone")


