Windows File Explorer hides a number of protected files by default. This is a group of basic operating system startup and startup files that Microsoft recommends keeping hidden so that deleting or modifying them does not cause system errors.
On the other hand, by default, the browser also hides Windows file extensions, characters added to the file name to identify its type or format, and also to define the applications associated with each of them.
Windows protected files and extensions
If hiding protected files is arguing (although it is necessary to see them in some usage situations), it has less explanation than by default, Windows Explorer does not display extensions, two to four character extensions located at the end of the file name and preceded by a dot. There are a huge number of them, from the internal systems to the general picture, video, documents, music, web or others.
Fortunately, there is an easy way to manage both functions. in Windows 7, Windows 8.1, Windows 10, and 11. We’ve reviewed it for a typical user who may not be aware of these options.
- Open Windows File Explorer.
- Click “View” in the general menu.

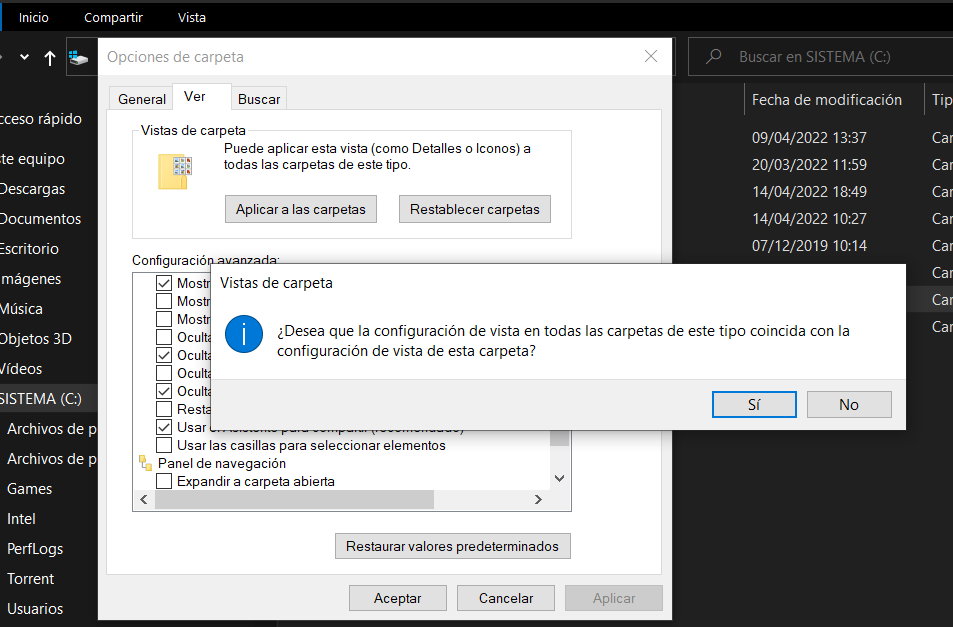
- In Folder Options, select the “View” tab.
- Uncheck “Hide protected operating system files” and “Hide file extensions for known file types”.

- Click Apply and also “Apply to Folders” to extend the configuration to all folders on your computer.
- If it’s more convenient for you, you can do the same from Control Panel> File Explorer Options.
From here you will be able to see the protected files in Windows Explorer. You will see the folders differentiated by shading icons somewhat lighter than others. As we said above, be very careful with them, because some files are necessary for the operating system to work.
You will also see file extensions. Useful for finding or associating programs that are able to move each of them.

Made changes are reversible whenever you don’t need them. For security, you can hide hidden system files again in the same way.


