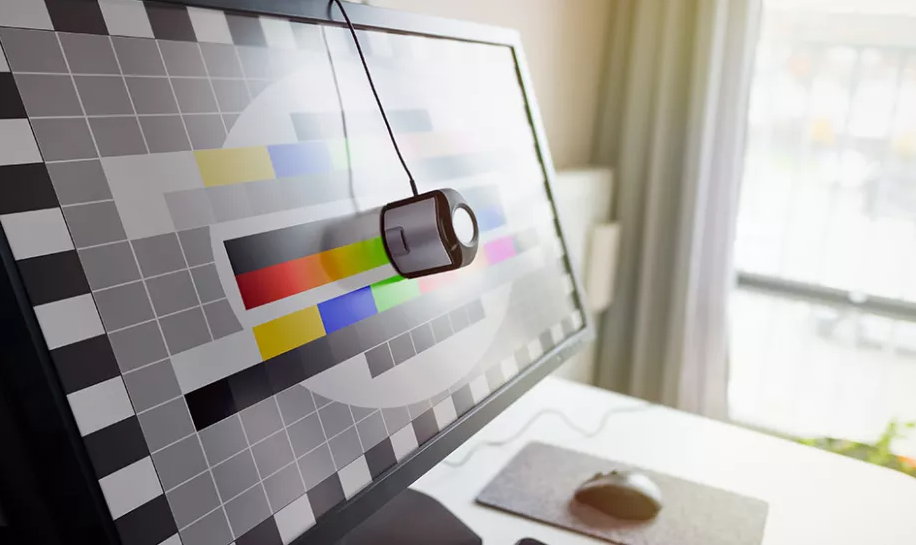
Calibrating your monitor is a good way to improve your viewing experience.
January 9, 2023
0
Devices that work with images (cameras, smartphones, scanners, printers…) use different color configurations and therefore the resulting display on computer monitors can have different shades, which are sometimes
Devices that work with images (cameras, smartphones, scanners, printers…) use different color configurations and therefore the resulting display on computer monitors can have different shades, which are sometimes quite far from the natural color. You’ll see this when you look at photos taken on vacation and you don’t see colors the way you did in the real world. Or when the same photo looks so different on two different monitors.
The key to making the colors appear on the computer screen as accurate, natural and realistic as possible It is undergoing its calibration. A must-have method for image and video editing professionals and any digital creative task in general, but also recommended for regular consumers to have the best experience.
How to calibrate a monitor
Monitor calibration should adjust three main parameters. The gamma value, which measures the ratio between the light emitted by the screen and the light falling on the process; color temperature as the distribution of light energy in the entire color spectrum; and the Delta E value, which measures the difference in the colors of a digital image compared to reality.
The needs and level of demand of each will indicate the path to follow in this calibration. Professionals will need dedicated hardware, while hobbyists can settle for simpler and free solutions where reasonable accuracy can be achieved using basic test patterns and trial and error methods.
Whichever technique you use, it requires that the lighting conditions in the work area where we have the monitor remain as constant as possible, as a change in lighting will affect the calibration. If your monitor has multiple usage modes, start with “Picture Mode”, the one your monitor uses by default, as the others (sRGB, Photo, Gaming…) work based on the standard mode level settings.
Operating system
The easiest way to calibrate the monitor, because it uses the software included in the most used operating systems. It requires using your vision and your judgment for what may not be completely accurate. But it’s better than nothing, it’s very easy and completely free.
In Windows 11 (or Windows 10), open the “Calibrate Display Color” tool, which can be found in the Control Panel or using the system search.
On To calibrate your monitor, simply reset your monitor settings to their default values and follow the on-screen instructions.
The gamma setting is one of the main touch values. Like the rest we’ll see through the operating system, you have to manually operate the monitor’s own controls.
Brightness setting is another parameter that can be managed:
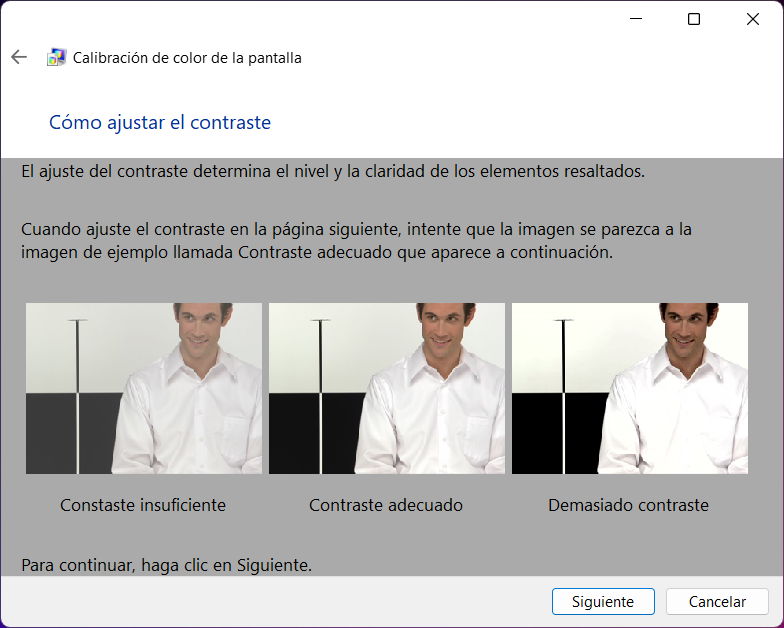
Same as contrast. Just set the middle level:
Microsoft has expanded its calibrator in Windows 11 and we can also act according to the white balance, which will determine the representation of shades of gray:
Finally, the tool allows you to check the calibration, set it or reverse it:
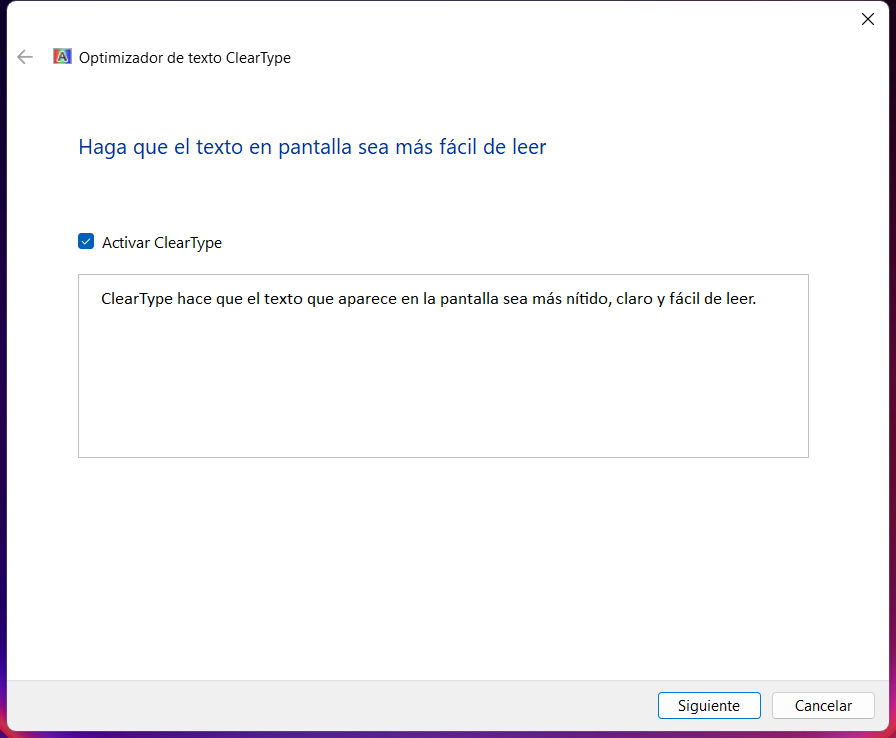
As a supplement to the calibration, Microsoft includes the ability to run another ClearType manager, which can be used to adjust the display of texts on the screen. It is recommended to do this. Follow the instructions as above:
Once done, you should get more accurate colors on your monitor. A new profile (ICC) or others you install will be saved as a .ics and you can manage them in the color manager application.
macOS also includes a custom calibration application accessible from System Preferences > Displays > Color > Calibrate. From there, a wizard opens that performs a function similar to a Windows function. Choose “expert mode” for more accuracy.
Web way
Online calibration tools are another option. While they can’t (obviously) change the color profile of your display using software, they can help with adjustments to fine-tune color, brightness, and contrast.
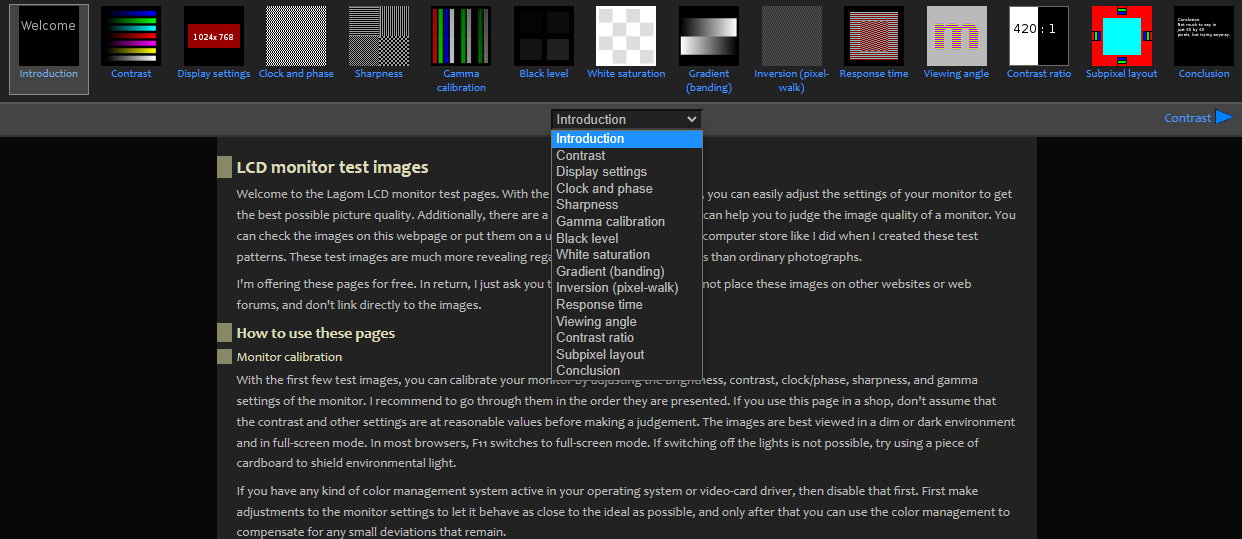
We like The Lagom LCD service the most. The site includes a number of test patterns from checking contrast to checking monitor response time. It is recommended that you perform the tests in the order in which they are performed. For example, perform an initial check of brightness, contrast and sharpness. With these settings, you can use your viewing angle to see if the corners of the screen are changing brightness or color. It can seem overwhelming to a beginner, but there are helpful explanations available, and like we said, it’s free.
The developer also offers downloadable patterns that can be included on a USB stick for testing monitors when you go to buy them at a computer store. And it’s very useful because – like TVs – they tend to have exaggerated lighting levels and can change quite a bit once you put them on the table. There are other specialized portals that you can try, such as Photo Friday or Online Monitor Test. They all work the same way on test patterns.
Software calibration
If your monitor does not have manual settings or the previous methods do not offer guarantees, you can use specific color calibration software. One of these applications is QuickGamma, free, reliable and easy to use. and better than the internal tool of operating systems that only offer a slider and a gray screen for settings.
With this app, you can see the gamma settings for each primary color and you can select integer values, allowing for more precision. Basically, the main goal is to get a neutral gray scale close to 2.2 gamma in the application. You can use the plus and minus adjustment buttons on the screen to achieve the desired result.
The developer includes a guide to help you make the correct gamma corrections to ensure you get the ideal brightness, contrast and colors on your screen. The problem, as with all previous methods using software, is that the final result depends on your own vision and judgment and therefore may not offer the most accurate results. But they are free and it will always be better than doing nothing and not using the capabilities of your monitor.
hardware calibration
If you don’t believe your eyes or don’t want to deal with adjustments that are simple but rather lengthy, you can opt for via hardware with a monitor calibrator. These devices include a spectrophotometer or colorimeter capable of identifying color and hue for a more objective measurement of color.
They include custom calibration software, and advanced models also have a sensor that detects ambient light around the screen. The goal is to automatically adjust the screen without user intervention.
You must clean the panel beforehand before using them; disable screen savers or power settings that affect their operation; factory reset monitor values; uninstall the modifications made in the operating system or made by software and leave the monitor on beforehand (fifteen minutes is enough) to stabilize its output.
From there, the calibrator will do its job. You record the highest values, compare them to an established database, and tell the application to adjust monitor colors and other settings as needed. The setting should be repeated regularly or when the lighting in the work environment changes.
These types of solutions are mandatory for creative tasks such as professional photo editing, but also for users who require greater precision in monitor calibration. There are professional solutions that cost more than the monitors themselves, but there are also others, aimed at home environments, that are within the reach of every consumer and that last practically a lifetime. As an example of one we’ve used and know well, let’s mention the datacolor Spyder X, which performs its function for basic use very well and is currently priced 127 euros.
Do not hesitate. Investing a few minutes every now and then in calibrating your monitor will allow you to get a more balanced image with more accurate color rendering and ultimately improve the image quality and viewing experience on each computer’s most important peripherals.
Alice Smith is a seasoned journalist and writer for Div Bracket. She has a keen sense of what’s important and is always on top of the latest trends. Alice provides in-depth coverage of the most talked-about news stories, delivering insightful and thought-provoking articles that keep her readers informed and engaged.