


No stress needed: how to lift a car on a slope with the simplest methods?
- July 15, 2022
- 0
Today driveway in traffic or high slope we may have to drive on the road and do a lot of stop-and-go in some cases. At the moment, drivers


9621 Agnes Crossing, Lake Suzanneview, New Mexico Island 84604-9295.
Today driveway in traffic or high slope we may have to drive on the road and do a lot of stop-and-go in some cases. At the moment, drivers

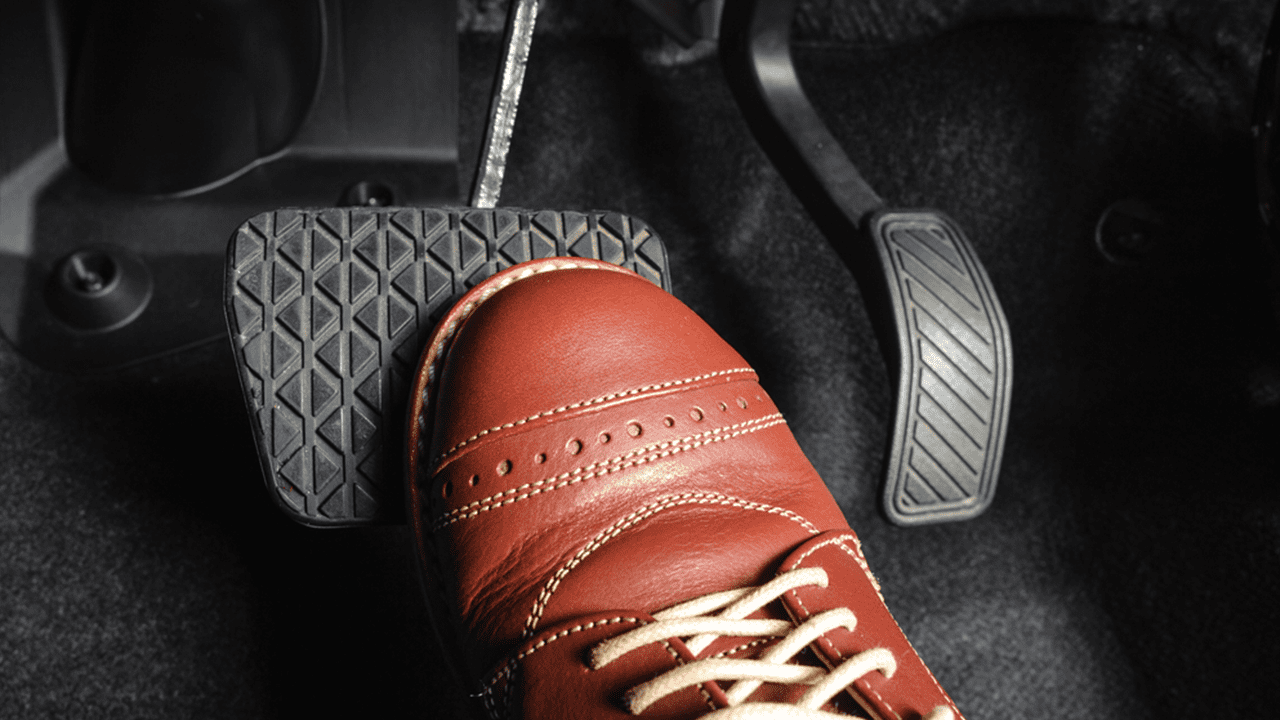
Today driveway in traffic or high slope we may have to drive on the road and do a lot of stop-and-go in some cases. At the moment, drivers who do not know the techniques of lifting cars on the slope and cannot get used to it, either push their vehicles back or stop them. The main thing here: car lift without skidding on a slope because if you park on a slope or if there is a lot of traffic, you don’t want to bump into the car behind you.
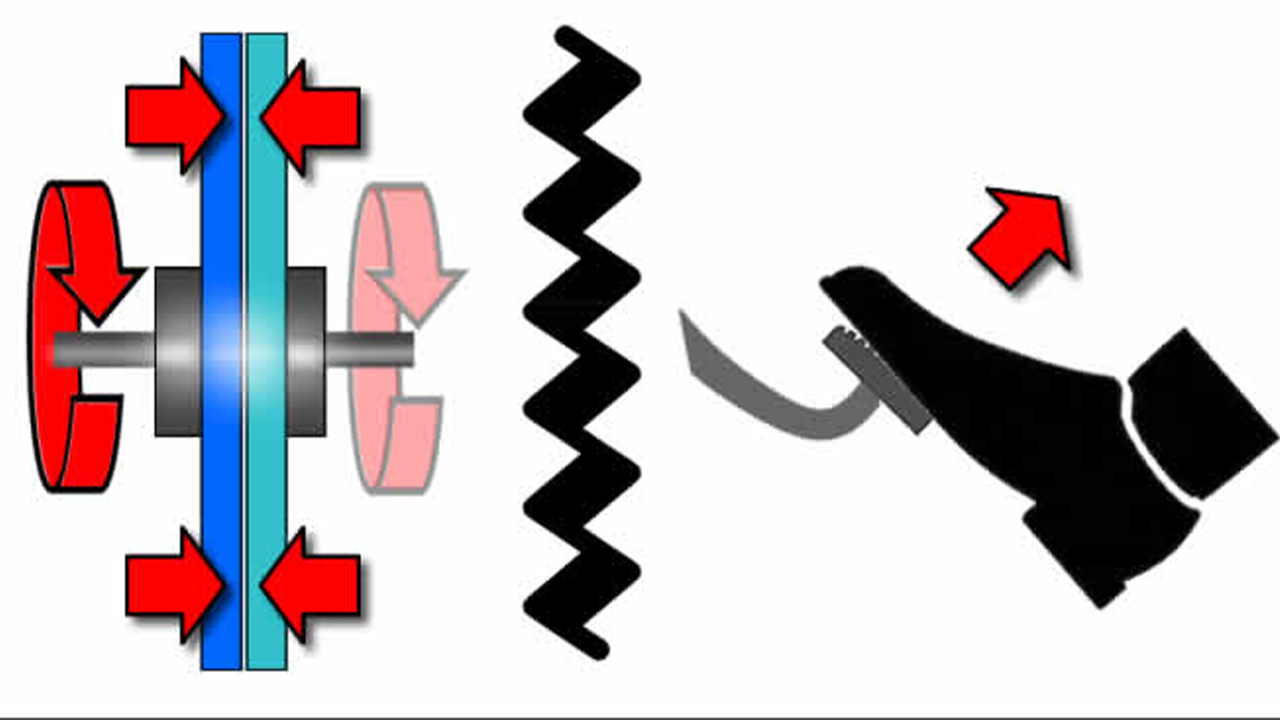
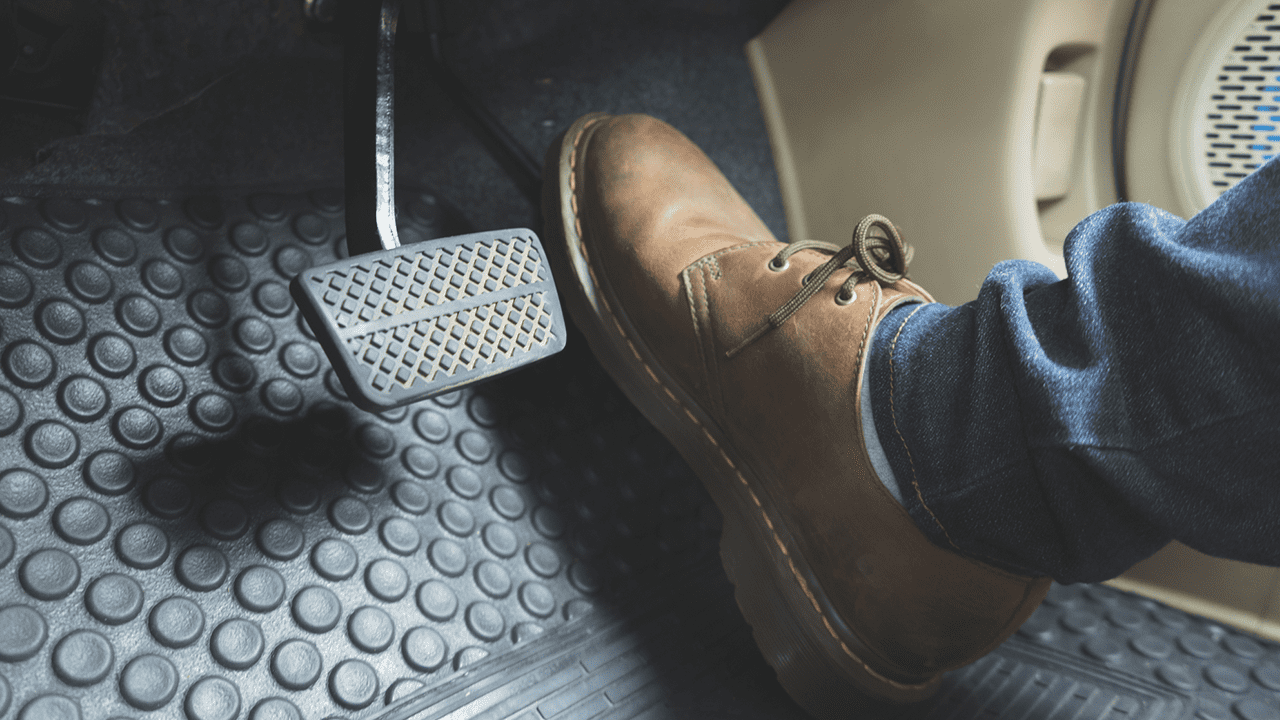
Vehicle lifting methods in the driveway consist of 2 different methods in total. one of them handbrake as he lifts with the other clutch is a method of getting up. We will talk about these two methods, but it is worth remembering that lifting a car on a hill with the handbrake, the steering wheel forbidden in exams. Therefore, do not forget to check the second method when you take the exam.
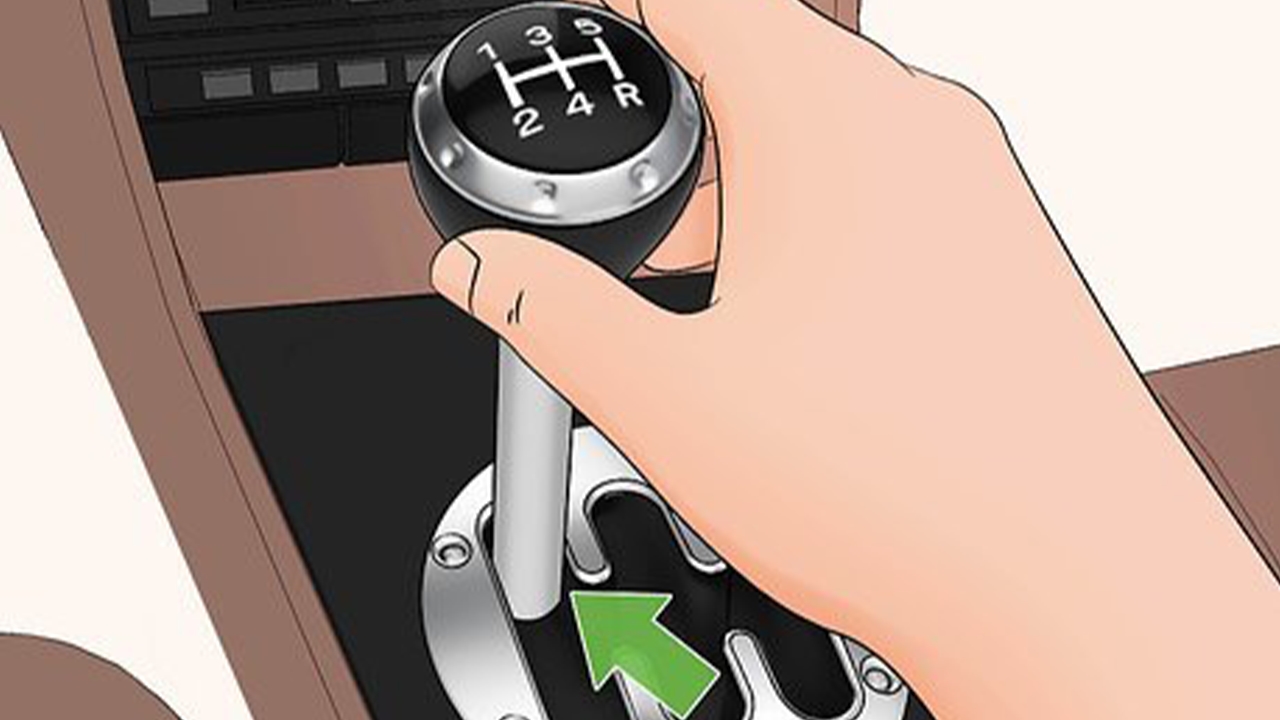
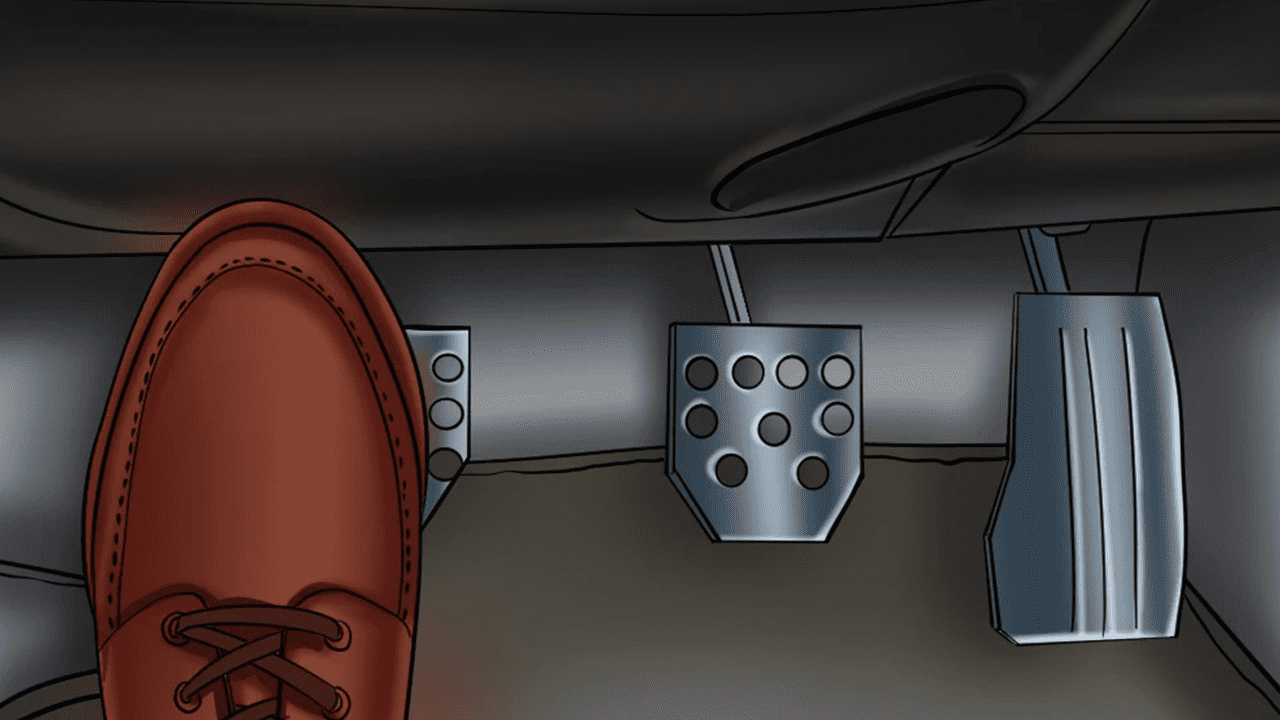
Before starting the method, if our vehicle is not operational, let’s start our vehicle using the key by pressing the clutch. When our vehicle is in a different gear, hold the clutch fully depressed and take your foot off the accelerator. neutral gear forehead. The best way to know if you are in neutral right and left is to shake. If the gear plays right and left comfortably, your gear is in neutral. After making sure our vehicle is running and in neutral gear, we can move on to the next step.
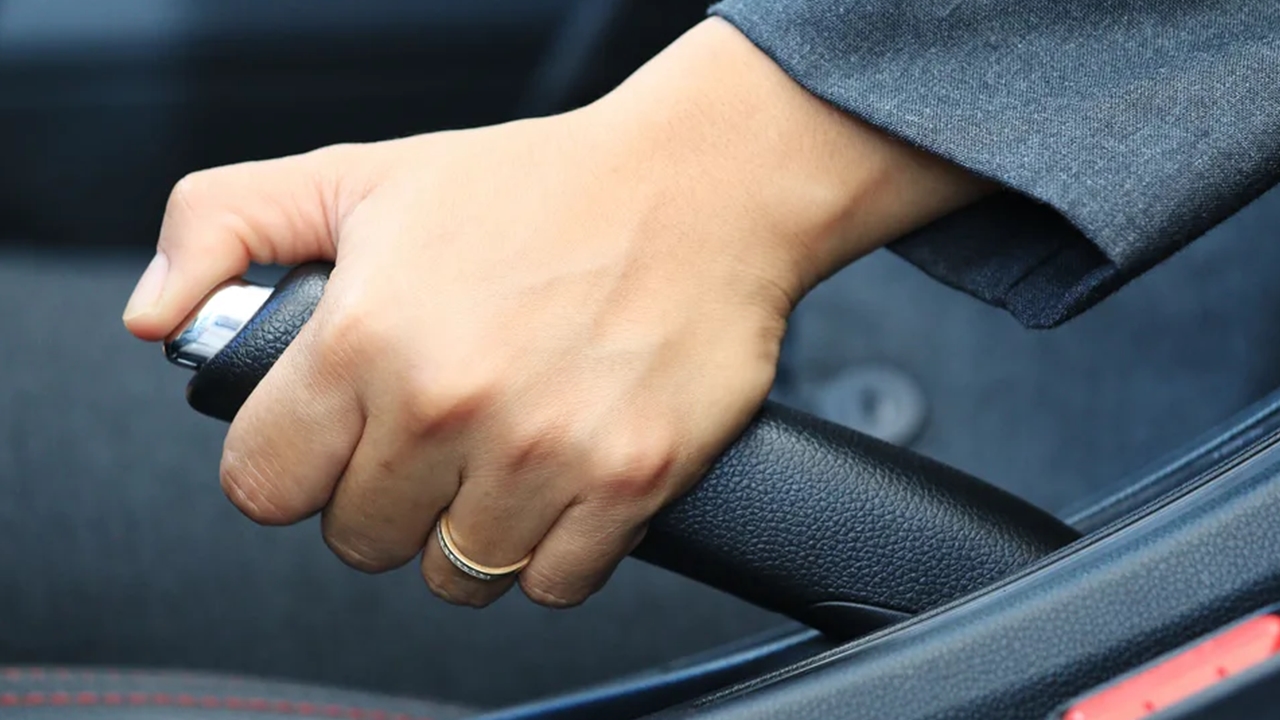
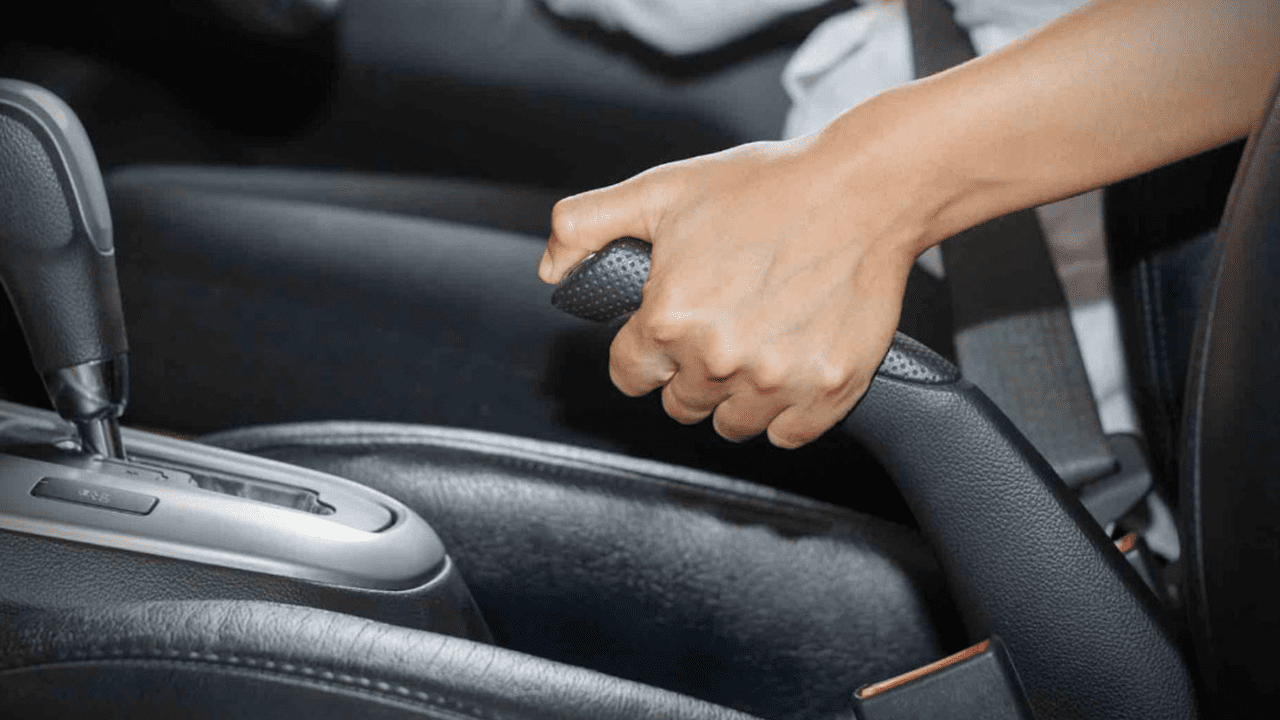
If you started your vehicle a long time ago and lowered your parking brake, you can use this method. till the end You will have to pull. Pull your lowered parking brake all the way up and make sure it is fully engaged. Remember that the most important element of this method is the handbrake. When the parking brake is fully applied, a crash sound will take it out. This means that you have successfully performed the audio extraction. Now go to the next step.
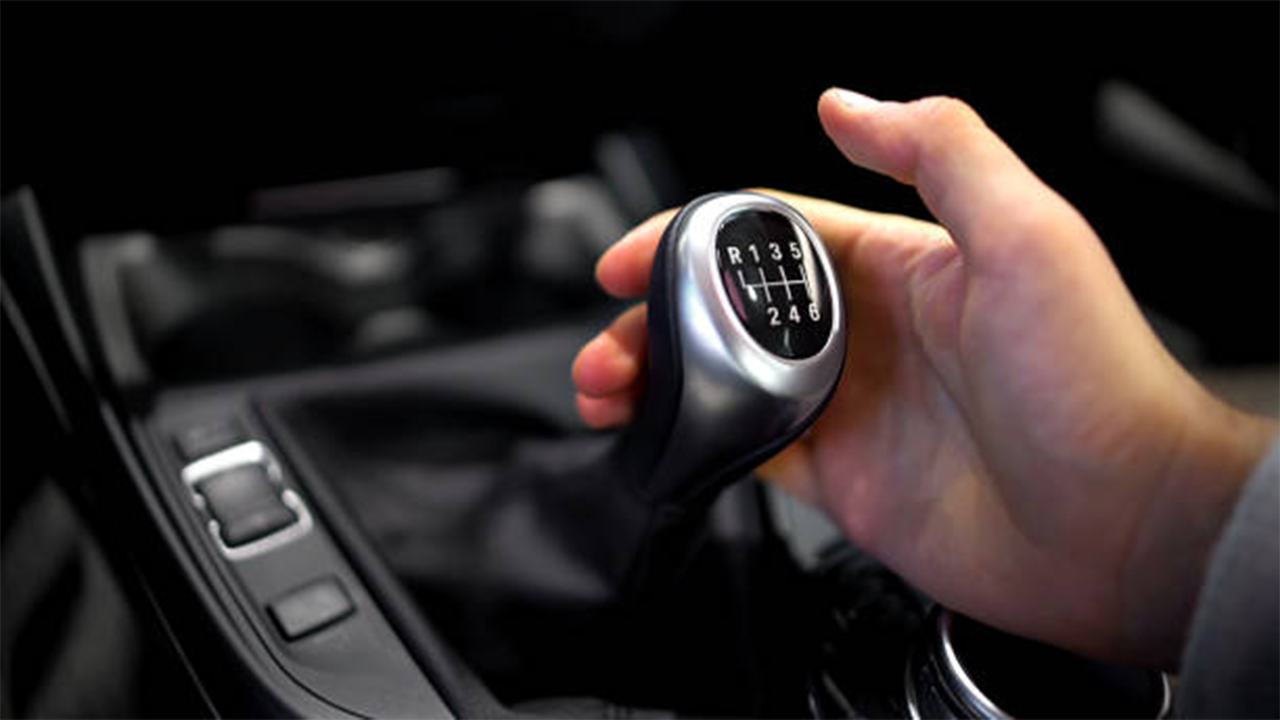
Now we shift our vehicle into first gear, the starting gear. To do this, as you’ve probably learned, press the clutch all the way in and first gear We’re making the switch. In doing so, we certainly do not lower the handbrake. Since our handbrake is on, we don’t have to press the brake pedal now, so we can put our right foot on the accelerator. You don’t have to step on the accelerator right away, just light it.
We had to release the handbrake on straight take-off steps, but with this method the handbrake would prevent us from slipping on the slope, so we had to lower the clutch while raising the clutch. pull handbrake it should be. Begin to slowly release the clutch with your left foot. on a certain moment in the sound of the engine change and shake your vehicle will start. This point means that the vehicle is at the grip point and is now ready to take off.
When your vehicle’s engine sound starts to change and your vehicle starts to vibrate you are in the grip resources. This point is when your vehicle is ready to take off and all it takes is to release the brake and in some cases. light gas This is where it should be given. Now we stop at the grip point, absolutely without letting go of our left foot. While holding the clutch, let’s move on to the next step.
Now we need to get off the brakes to get the vehicle up. We’ve stuck with this step. handbrake we can download. The vehicle may or may not start after the parking brake is released. When it starts, you’ve taken off and can move on to the next step, but if there’s no departure, it’ll take a while. give off gas It can prevent your vehicle from drowning and cause it to take off.
About one after takeoff distance to vehicle length after leaving and up to a certain speed Once we’ve reached it, it’s time to let go of the clutch that we had been holding at the clutch point. If you prefer, you can try to release the clutch slowly during this process without waiting the distance, but it shouldn’t be too fast. It may take a while to get used to the clutch release during acceleration, so stay calm. Slowly release the clutch and continue your journey. You successfully did the hill start using the handbrake method.
The first step of this method is to start the vehicle or change our gear while it is spinning. to waste will be. To remind you that the gear is empty, you can understand it by shaking it to the right and left. If the vehicle is running and our gear is in neutral, we can proceed to the next step.
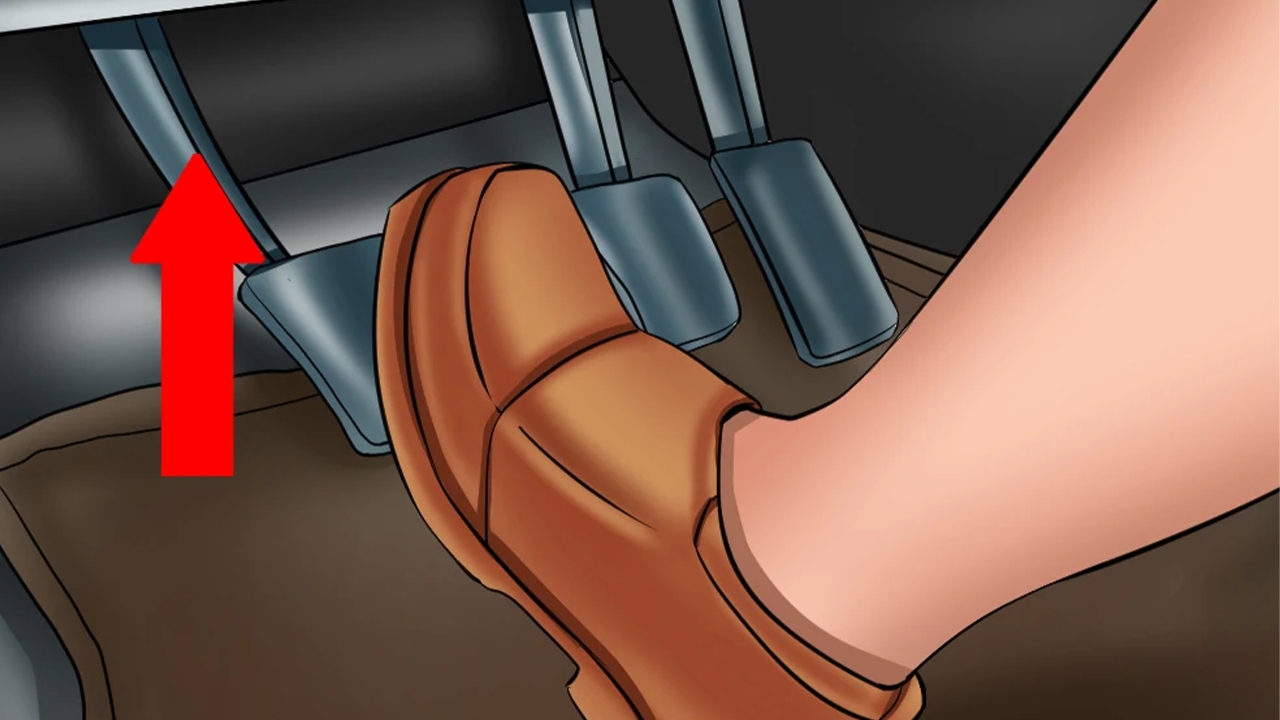
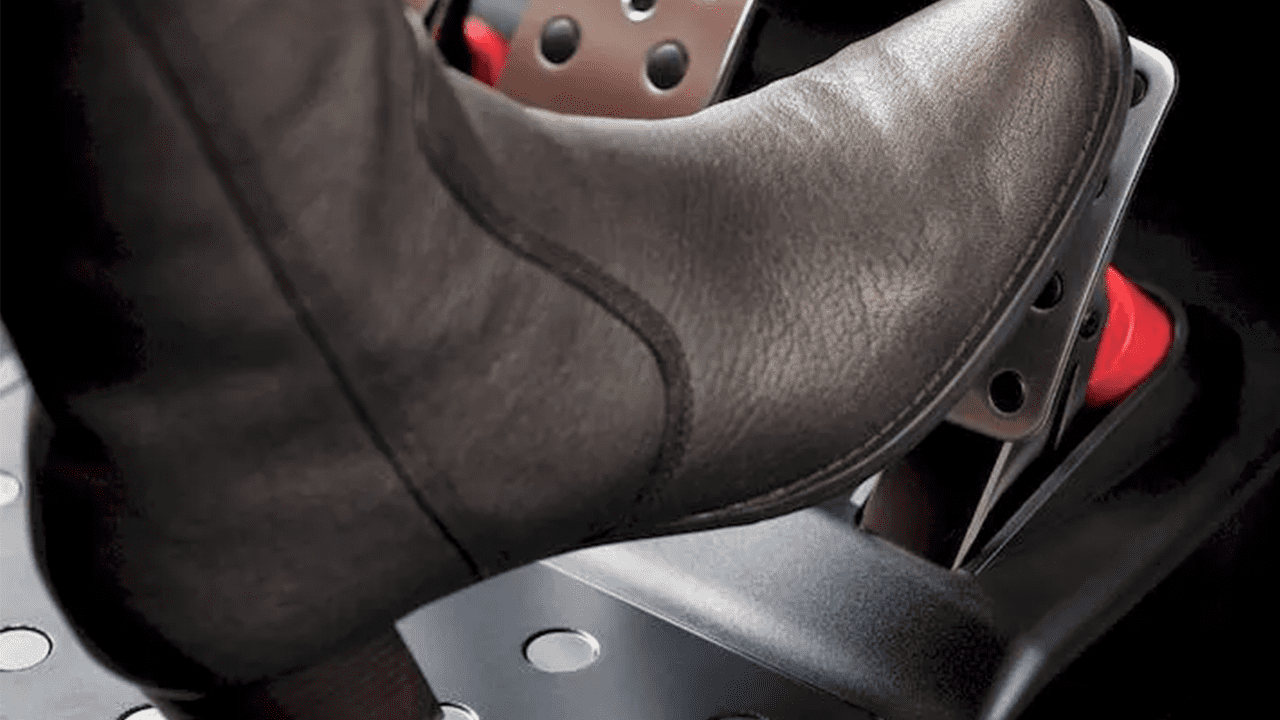
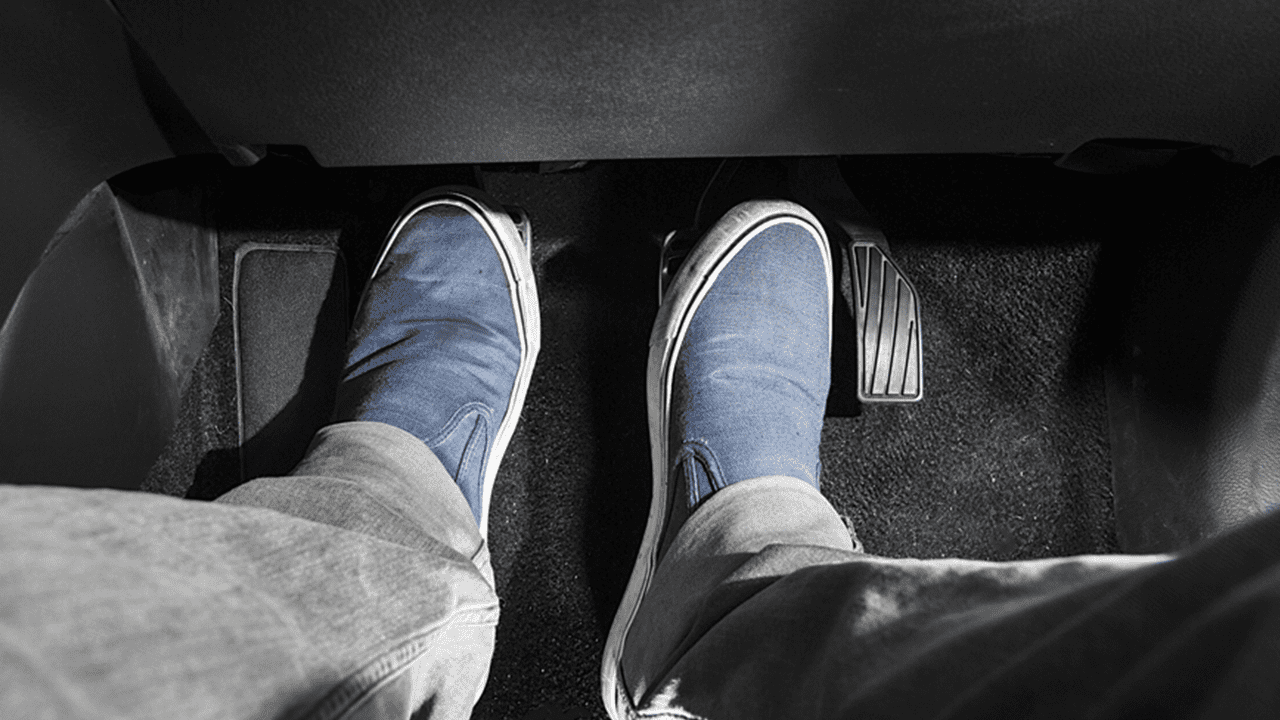
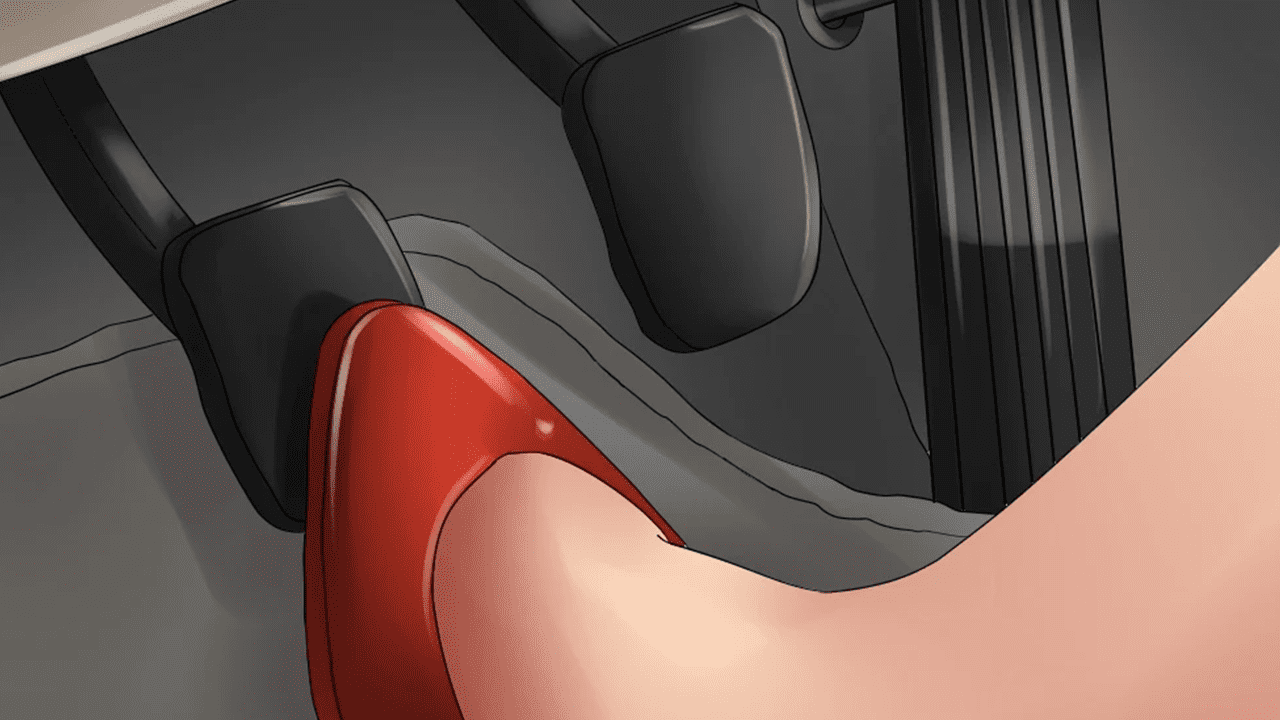
In this method, we put our foot on the brake pedal. In this method, our most important element is the brake. If the handbrake is down, the brake will keep us from slipping on the slope. some brake on power Hold it and don’t let go.
Now it’s time to lower our handbrake, don’t forget to press and hold the brake pedal with your right foot and handbrake to download. if your foot if not on the brake Remember that your vehicle will skid.

At this stage, the only thing that keeps us going on the slope is the brake we press with our right foot. Using the clutch, which we press with our left foot, without moving this foot from its place. first gear let’s dad Now we can bring our clutch to the docking point and get the vehicle ready for take off. Now let’s go to the next step.
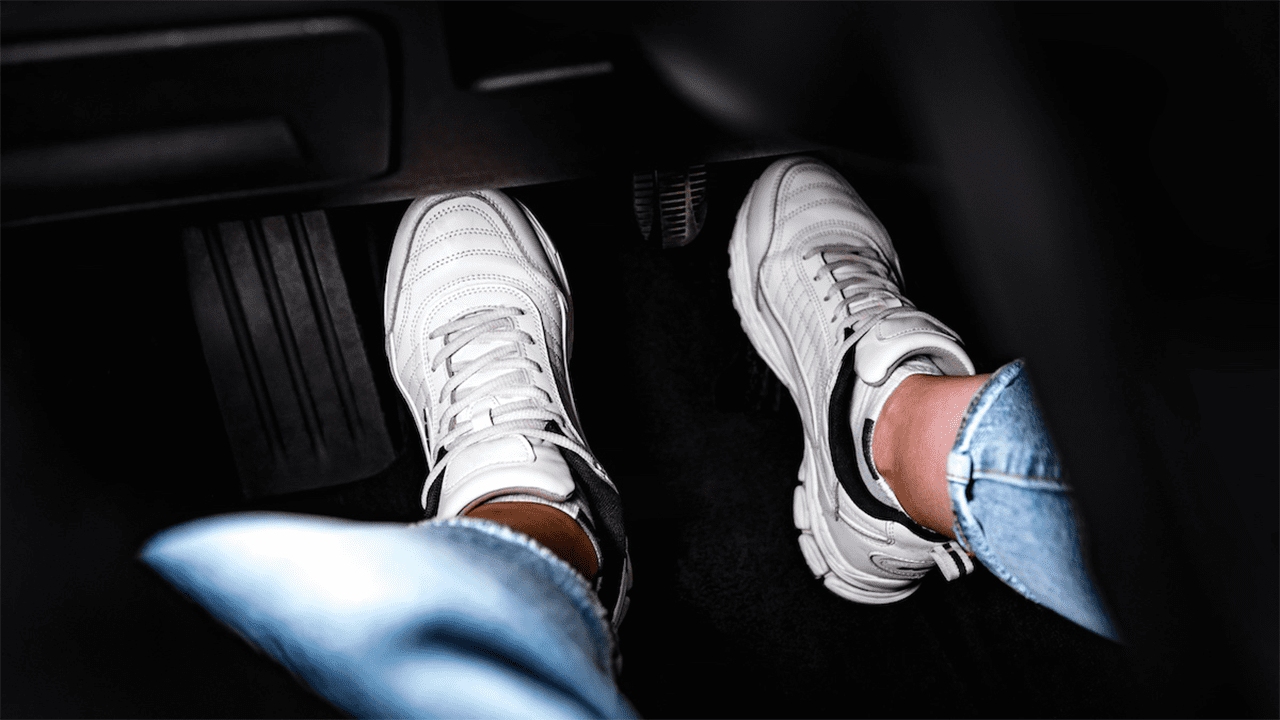
Now it’s time for the most crucial step. to the point of application coming. Slowly move your left foot while your right foot is still firmly on the brake. disconnect get started. If you leave suddenly, your vehicle will stop, so be careful.
As we slowly take our foot off the clutch, at some point the vehicle starts to vibrate. flashpoint and in the vehicle change engine sound It informs us that we have reached the point of understanding. Our vehicle is now ready to take off, and if you really have full grip you won’t slide back. Once you’re sure where the car starts to vibrate, stay there and hold on.
While our left foot is at the coupling point, it is still pressed in that area. Now, with our right foot, we hold down until this step. release the brake we can give. Take your right foot off the brake and start accelerating. If you have completed all the steps correctly at this point, your vehicle will begin to lift without skidding.
We were able to lift our vehicle successfully, but our left foot is still in the clutch. As a final step, the vehicle must have at least one vehicle length distance: as far as and up to a certain speed After reaching our destination, we can continue on our way by taking our left foot off the clutch. If you prefer, you can try to release the clutch slowly during this process without waiting the distance, but it shouldn’t be too fast. It may take a while to get used to the clutch release during acceleration, so stay calm. With this step, you have lifted the vehicle using the hitch clutch.
In this article, we have looked at the methods and detailed steps to lift a car without skidding on a slope. If you are preparing for the driving test, the second method is: linking method: will be most suitable for you because the handbrake lifting method; forbidden in exam case. These steps with a lot of practice and more inclines and if possible in traffic-free areas You can master this work by repeating it over and over.
Source: Web Tekno
I’m Maurice Knox, a professional news writer with a focus on science. I work for Div Bracket. My articles cover everything from the latest scientific breakthroughs to advances in technology and medicine. I have a passion for understanding the world around us and helping people stay informed about important developments in science and beyond.


